Last Updated on 4 weeks ago by Bernard Mugo
In this tutorial, I will show you every step you need to go from raw interview transcripts to clearly developed final themes in NVivo 15. The approach I use is thematic analysis — specifically the Braun and Clarke six-step framework, which is the most widely used qualitative analysis method in PhD research.
This is a complete beginner-friendly guide. Whether you have never opened NVivo before, or you have been struggling to move from coding to themes, this tutorial will give you a clear, practical process you can follow from start to finish.
My name is Bernard Mugo. Over the past three years, I have helped more than 200 PhD students complete their qualitative analysis and finish their dissertations. Before you begin coding, make sure your interview data is well-collected — I cover the most common qualitative research interview mistakes to avoid in a separate guide.
- What You Will Learn in This Tutorial
- NVivo 15 vs NVivo 14: What Changed?
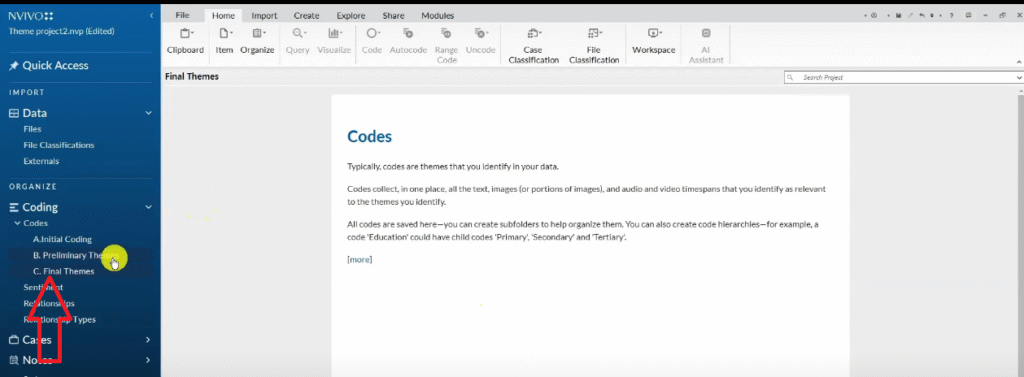
- What Is a Code in Qualitative Data Analysis?
- Step 1 — Set Up Your NVivo 15 Project
- Step 2 — Import Your Transcripts into NVivo 15
- Step 3 — Familiarize Yourself with the Data
- Step 4 — Generate Initial Codes in NVivo 15
- Step 5 — Develop Preliminary Themes in NVivo 15
- Step 6 — Review and Refine Your Themes
- Step 7 — Export Your Codebook from NVivo 15
- Frequently Asked Questions
- Key Takeaways
- What's Next After Your NVivo 15 Thematic Analysis?
What You Will Learn in This Tutorial
By the end of this guide, you will know how to:
- Set up a new project in NVivo 15 and import your interview transcripts
- Understand what a qualitative code is, with a concrete example from Johnny Saldana’s coding manual
- Use NVivo 15’s colour-coding system to track which codes came from which interview questions
- Generate initial codes from two interview transcripts using drag-and-drop coding
- Group your initial codes into preliminary themes, each with a clear description
- Review and refine your preliminary themes into a final set of well-defined themes
- Export your codebook from NVivo 15 ready for your findings report
If you want to understand which analysis approach is right for your study before you begin, I cover all six methods in my guide to qualitative data analysis methods.
NVivo 15 vs NVivo 14: What Changed?
NVivo 15 was launched in August 2024. The core interface — the left navigation panel, the Files section, the Codes section, and the ribbon toolbar — is identical to NVivo 14. The only meaningful new addition is the NVivo 15 AI Assistant, which can suggest codes and auto-code segments of your data.
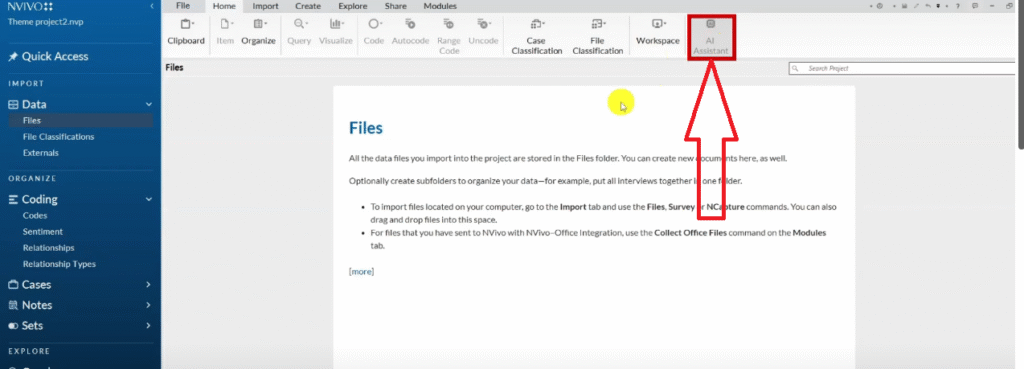
My honest assessment: for PhD thematic analysis, do not use the AI Assistant for your primary coding. Thematic analysis requires interpretive judgment — your reading of what a participant means, not just what they said. AI coding produces surface-level labels that lack the nuance your examiners will expect. I discuss this in more detail below in the FAQ.
Everything else in this tutorial applies equally to NVivo 14 and NVivo 15.
What Is a Code in Qualitative Data Analysis?
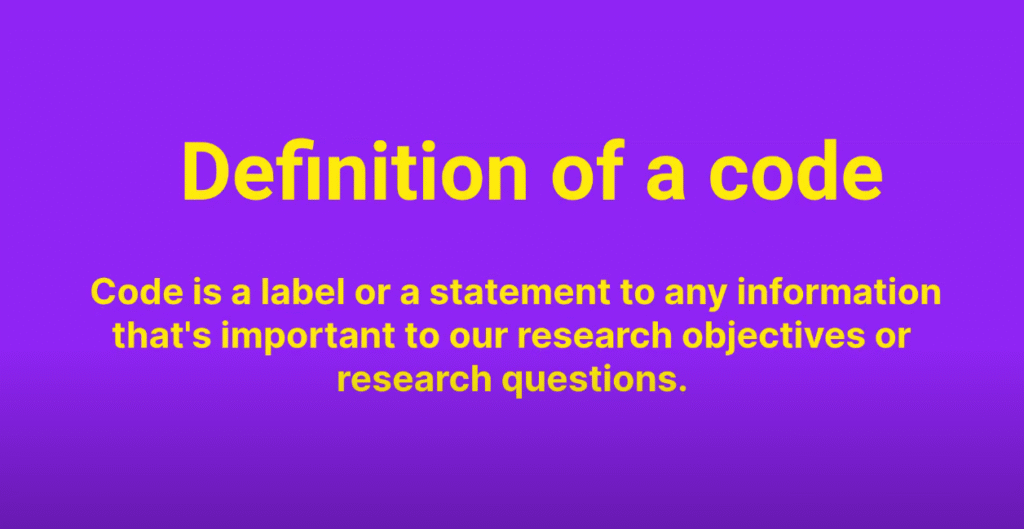
A code is a label or interpretive statement applied to a segment of data that you judge to be important to your research questions or objectives. Codes are the building blocks of thematic analysis — everything that follows depends on getting your initial coding right.
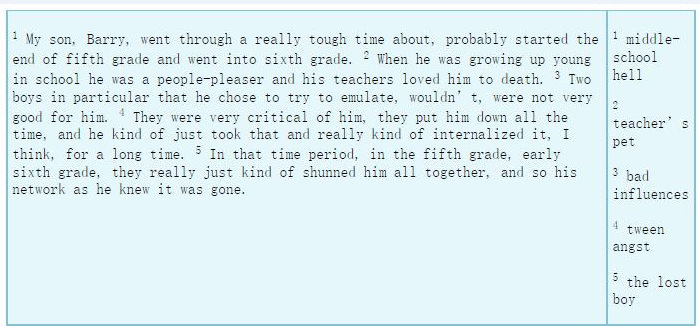
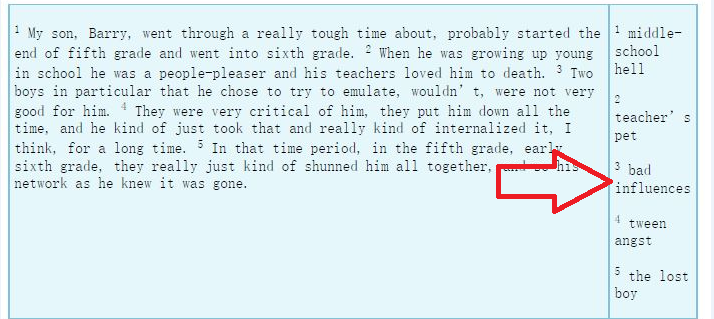
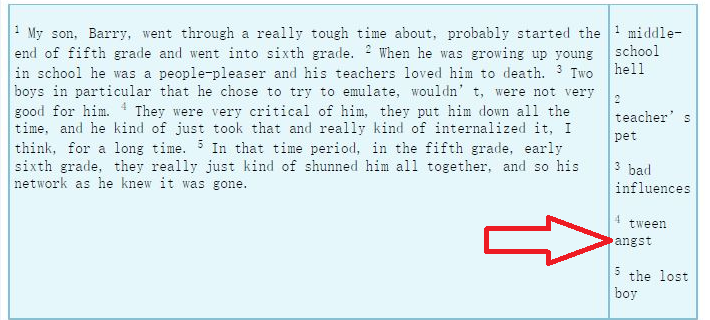
Here is a concrete example from Johnny Saldana’s coding manual. Consider this paragraph from an interview:
“My son Barry went through a really tough time — probably started at the end of fifth grade. He was a people pleaser and his teachers loved him to death. Two boys in particular were not very good for him. They were very critical of him. They put him down all the time and he kind of just internalized it. They really just kind of shunned him altogether and his network as he knew it was gone.”
Saldana codes this paragraph as five distinct codes:
- “Middle school hell” — the overall experience of going through a tough time in school
- “Teacher’s pet” — being liked and favoured by teachers
- “Bad influences” — the two boys who were not good for him
- “Teen angst” — internalizing the criticism and put-downs
- “The lost boy” — losing his social network and feeling isolated
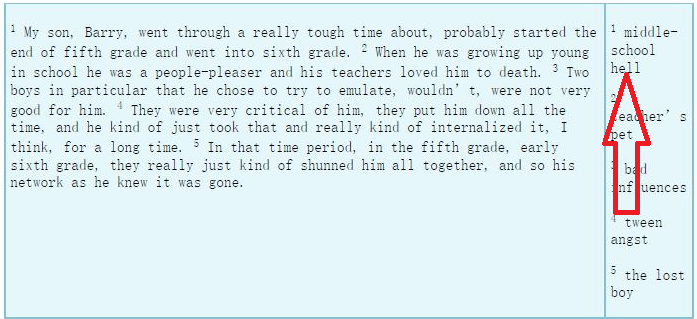
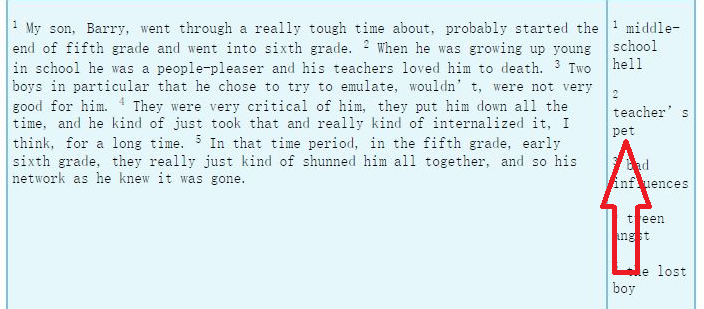
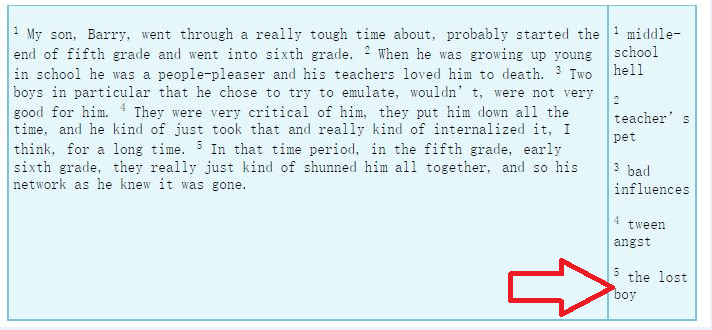
Notice that codes are not always obvious word-for-word summaries. “Middle school hell” is an interpretive label — it captures the meaning and emotional weight of the participant’s account, not just the surface content. This is exactly the kind of interpretive coding you should aim for.
For a deeper grounding in the coding process, I have a full guide on qualitative coding in NVivo that covers this in more detail.
Step 1 — Set Up Your NVivo 15 Project
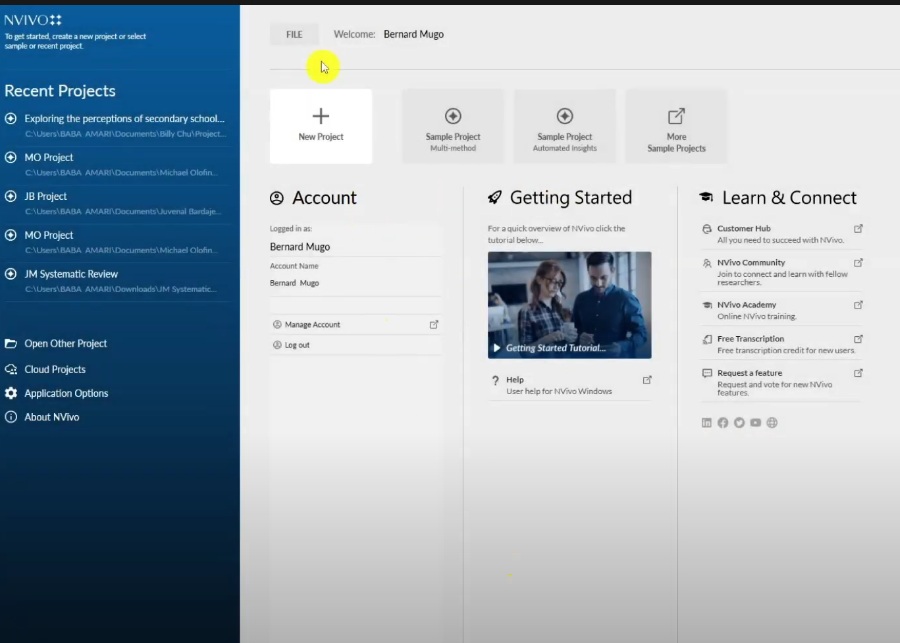
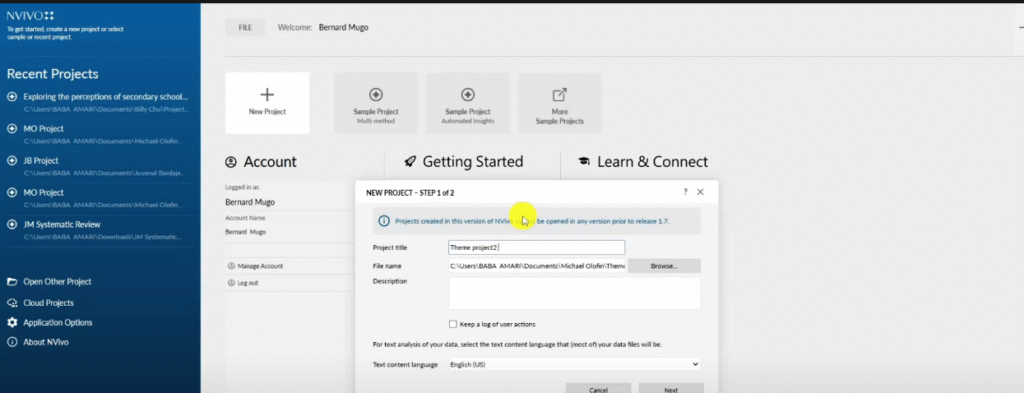
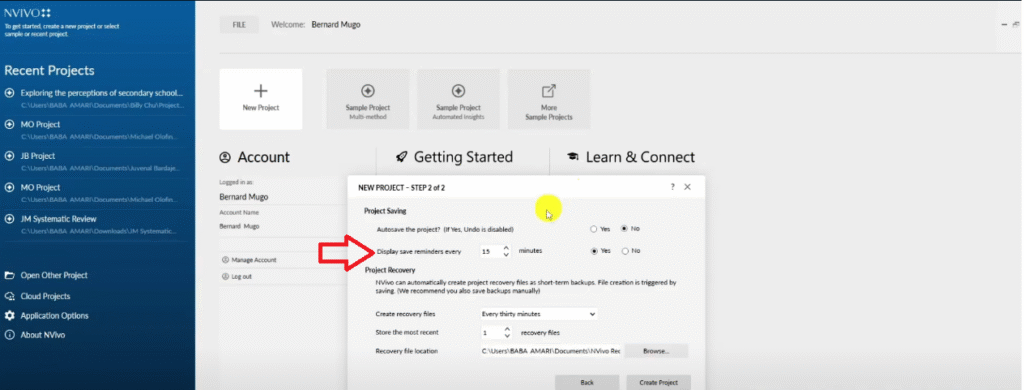
When you open NVivo 15, click New Project. Give your project a descriptive name — for example, “Thematic Analysis — Teacher Challenges Study”. Click Next.
On the save settings screen, do not enable auto-save. NVivo 15 can occasionally crash during auto-save and corrupt your project file. Instead, set a display reminder for every 15 minutes. This prompts you to manually save at regular intervals without the risk of a corrupted auto-save.
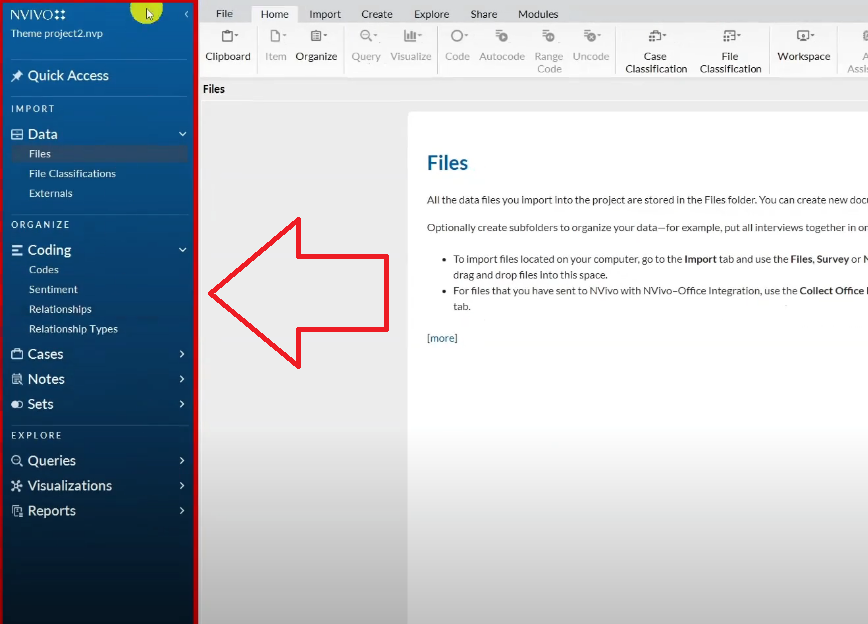
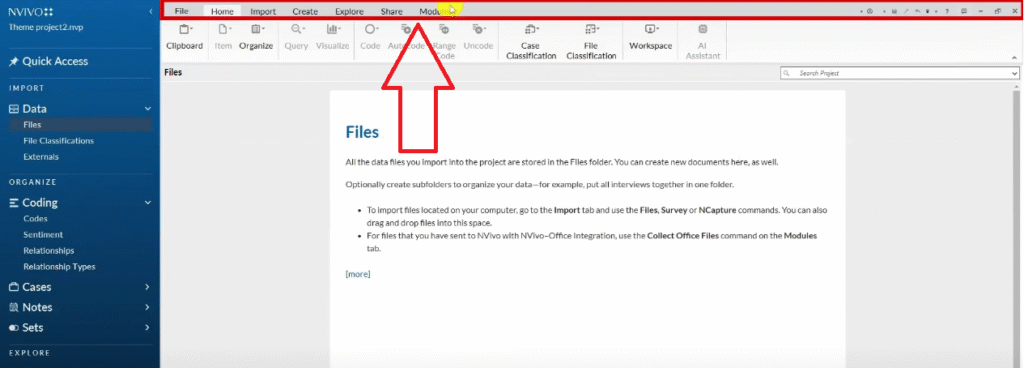
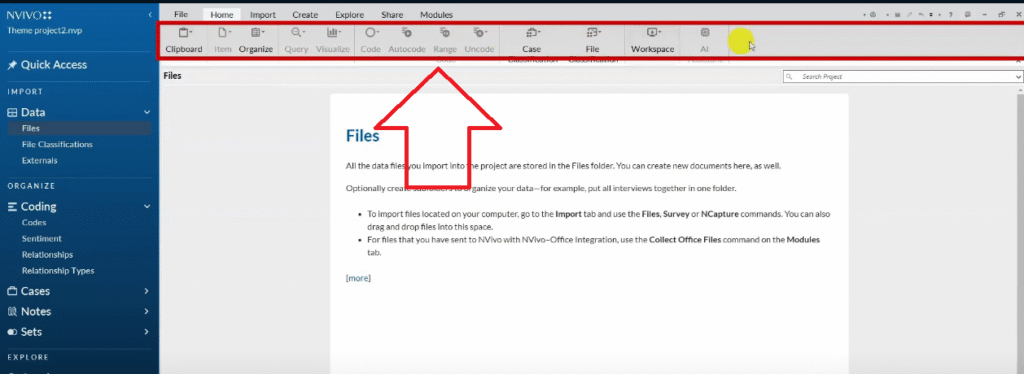
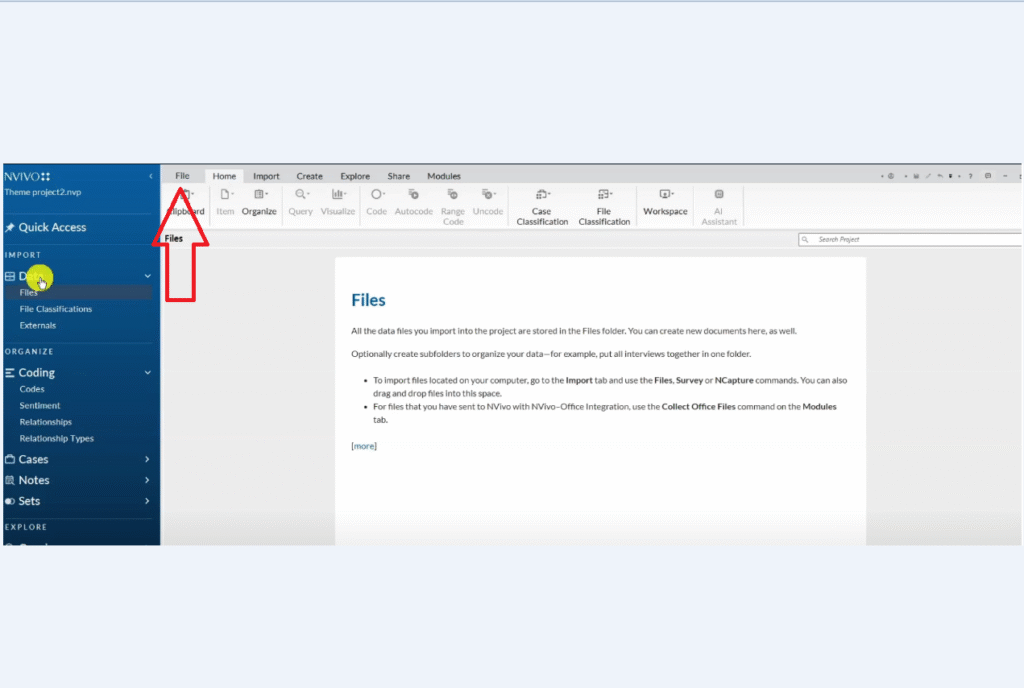
NVivo 15 has three main navigation areas:
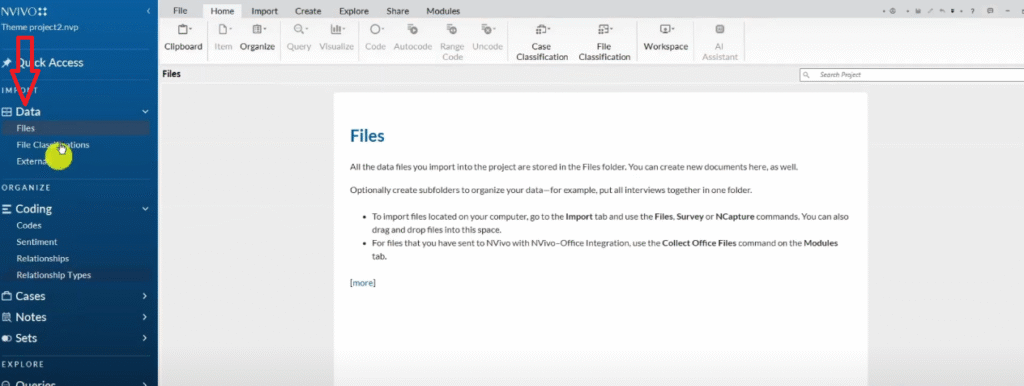
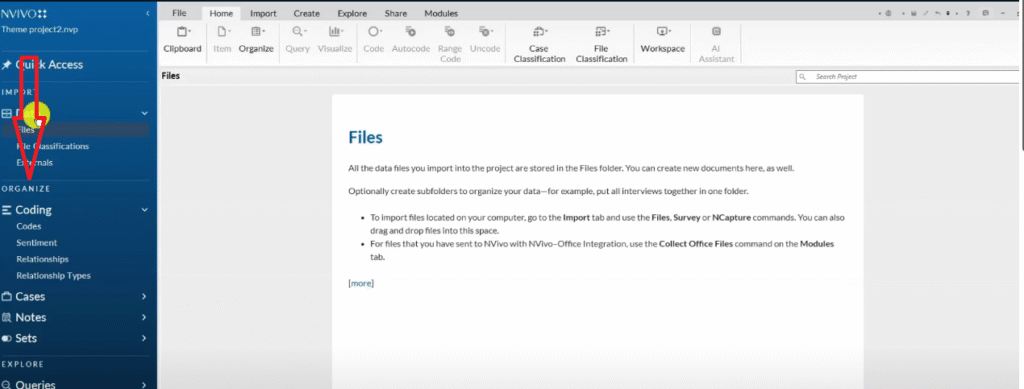
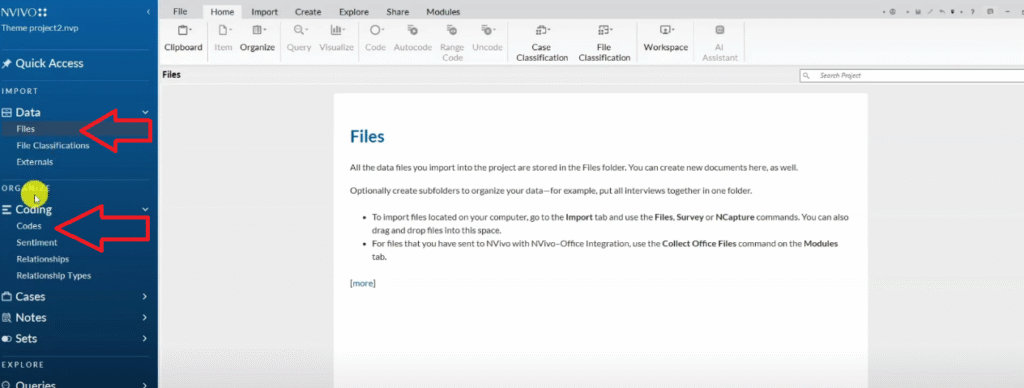
- The blue left panel — where your Files (data) and Codes live
- The dark grey top ribbon — where you access Import, Create, Explore, Share, and Modules
- The light grey middle area — your working workspace where transcripts and code views open
As a beginner, you will primarily work in two sections: Files (to store your transcripts) and Codes (to store your codes and themes). Everything else can be ignored until you need it.
Step 2 — Import Your Transcripts into NVivo 15
There are two ways to import transcripts into NVivo 15. Both produce identical results — use whichever feels more natural.
Method 1 — via the ribbon:
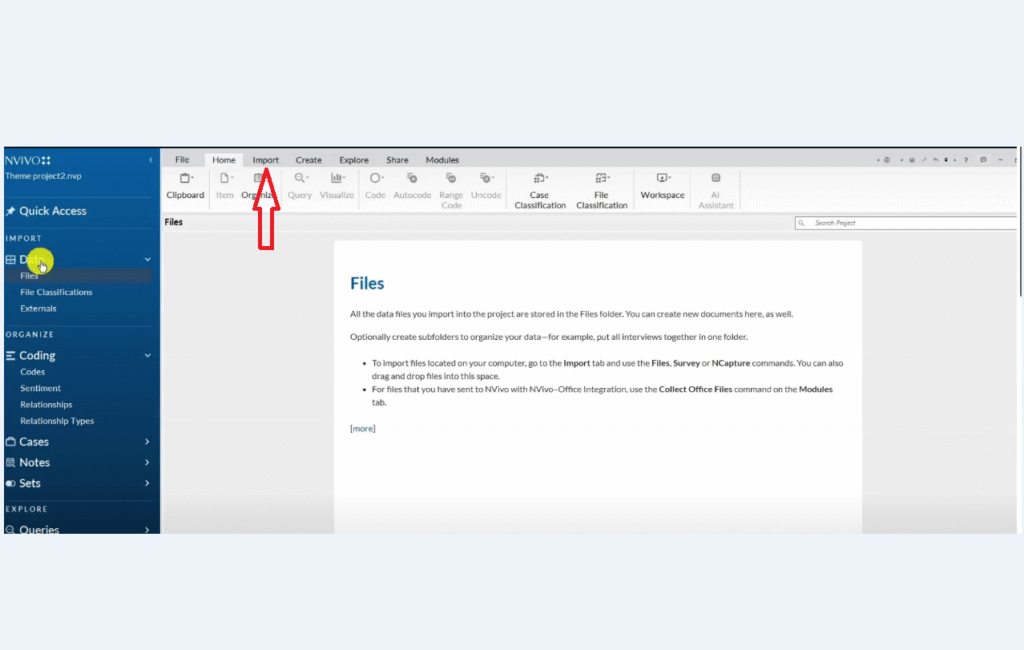
- Click the Import tab in the top ribbon
- Click Files
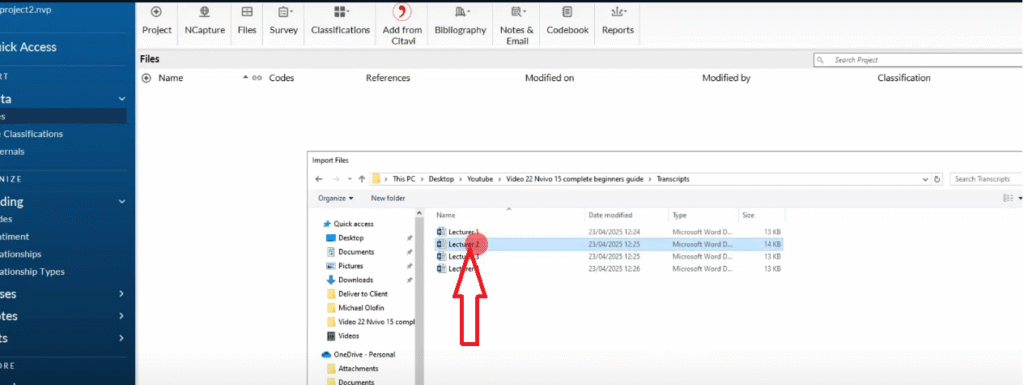
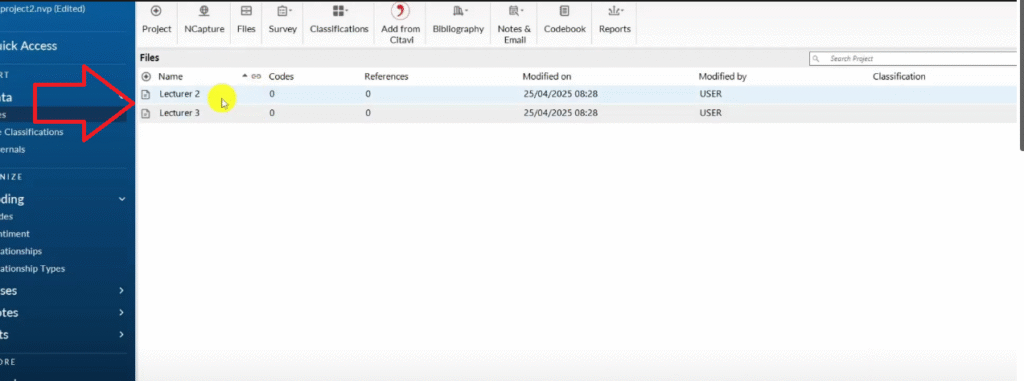
- Navigate to your transcript folder and select your file
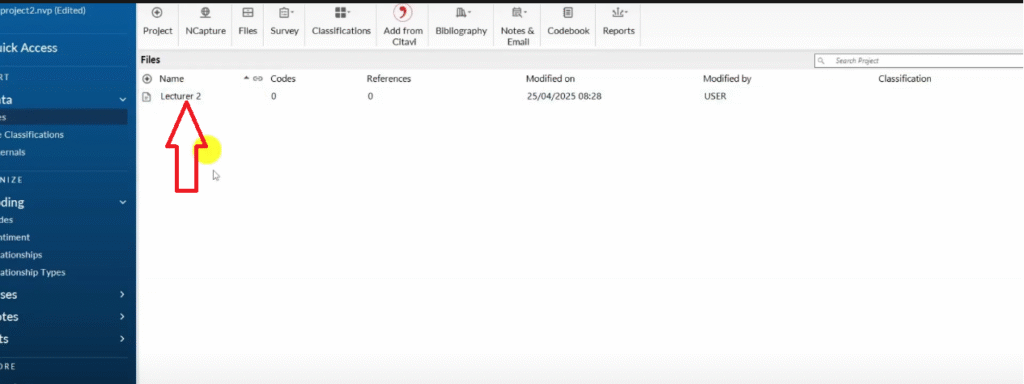
- Click Open — the transcript appears in your Files panel
Method 2 — drag and drop:
- Open the folder on your computer where your transcripts are saved
- Drag the transcript file directly into the Files section in NVivo’s left panel
- Release — the file imports automatically
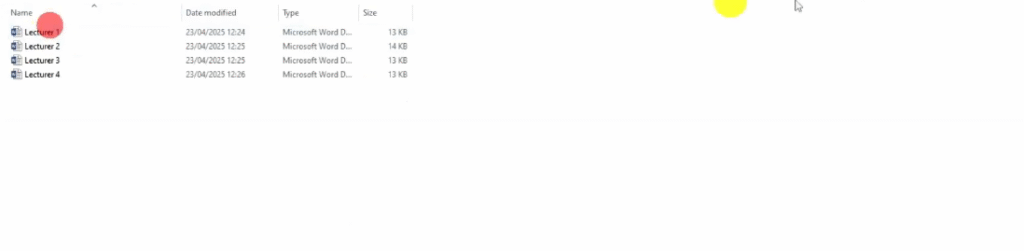
Import all your transcripts before you begin coding. For this tutorial, I am working with two interview transcripts from a study on challenges teachers experience when teaching in a community college. If you are still deciding how many participants you need, my guide on how many interviews are needed for qualitative research covers data saturation in detail.
Step 3 — Familiarize Yourself with the Data
Before you create a single code, read all of your transcripts. Every transcript. All the way through.
This is Step 1 of the Braun and Clarke six-step thematic analysis framework — data familiarization — and it is non-negotiable. Researchers who skip this step and jump straight into coding produce shallow codes that miss the latent meaning in their data.
During this read-through, make notes of:
- Recurring ideas or concerns across participants
- Anything that surprises you or challenges your expectations
- Language or phrases that feel significant
- Anything directly relevant to your research questions
These notes are not codes yet — they are analytical observations that will inform your coding in the next step. In NVivo 15, you can record them as memos attached to your transcript files.
Step 4 — Generate Initial Codes in NVivo 15
Initial coding is the process of systematically reading through your transcripts and assigning short interpretive labels to every segment of data that is relevant to your research questions. This is the most time-intensive step of thematic analysis — and the one that determines the quality of everything that follows.
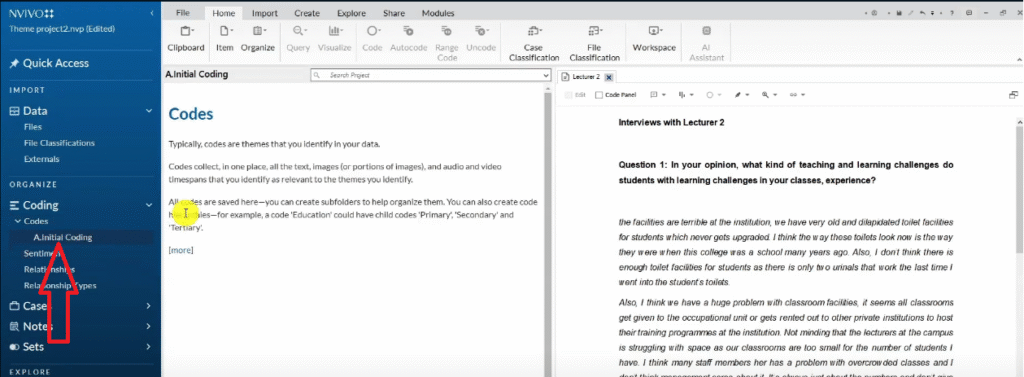
In NVivo 15, start by creating a folder for your initial codes:
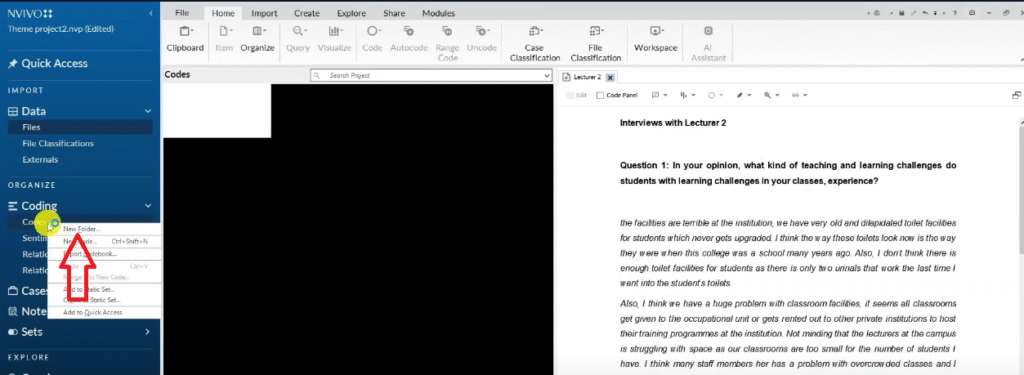
- In the left panel, right-click in the Codes section
- Select New Folder
- Name it “Initial Coding”
All the codes you create during this step will live inside this folder.
How to Use Colour Codes to Track Interview Questions
Before coding, I use a colour-coding system to track which codes came from which interview question. This makes theme development much easier later. Here is how it works:
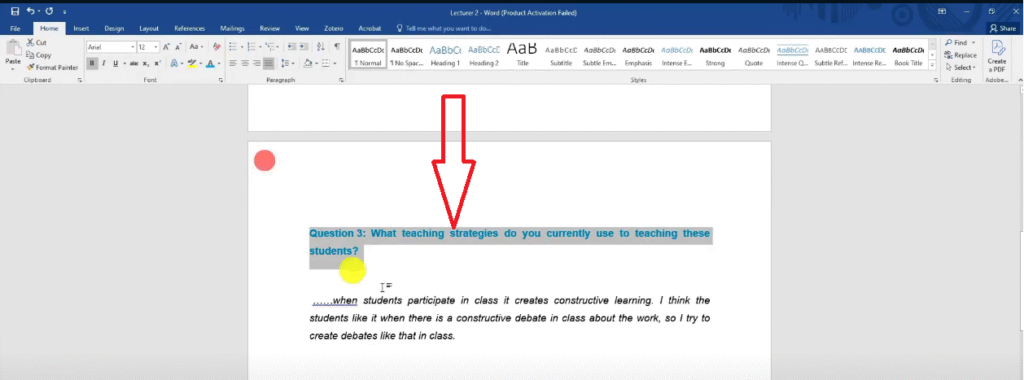
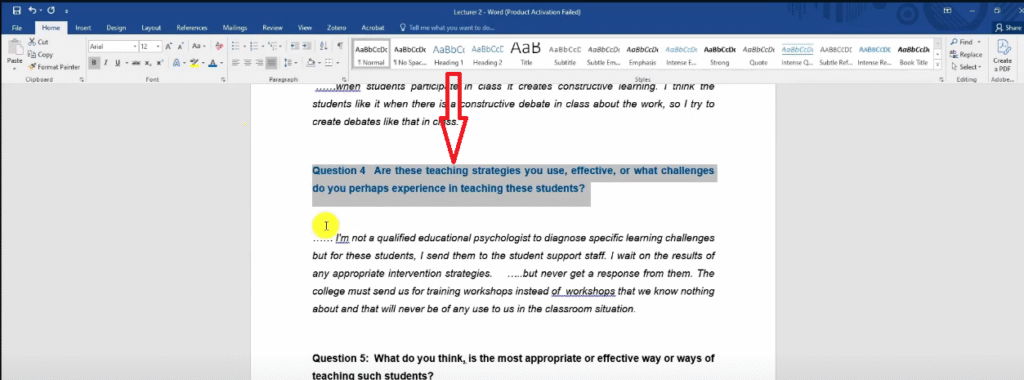
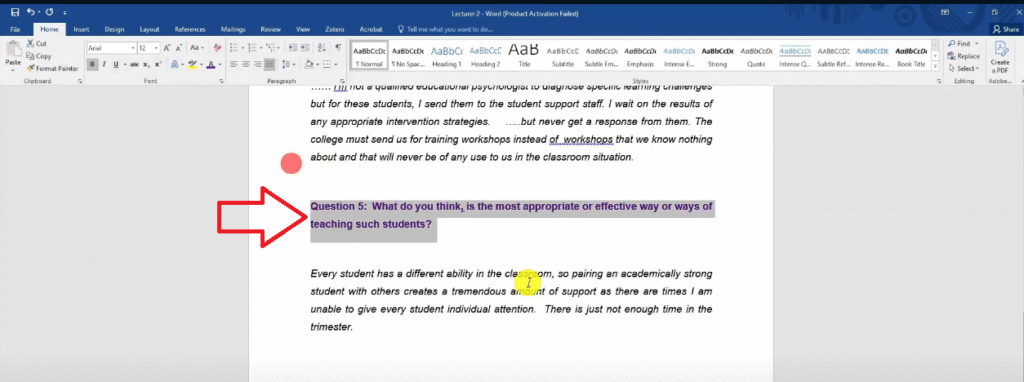
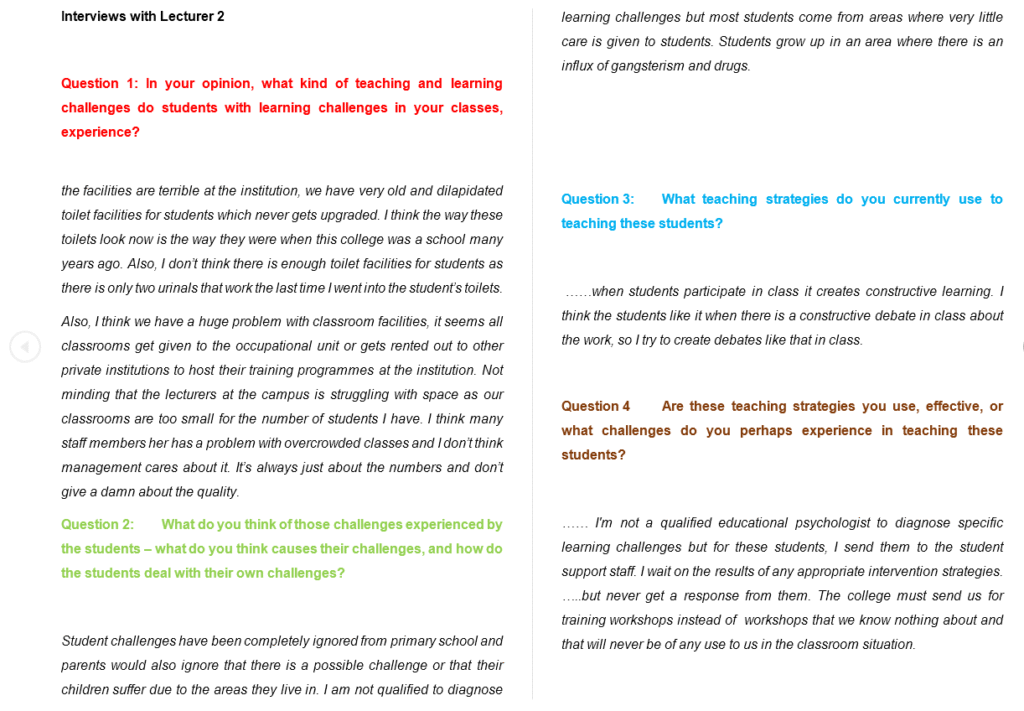
- Open your transcript in Word (not in NVivo) and highlight each interview question in a distinct colour — Question 1 in red, Question 2 in green, Question 3 in blue, and so on
- Use the same colour scheme for every transcript in your study
- When you create each code in NVivo, assign it the colour of the question it came from
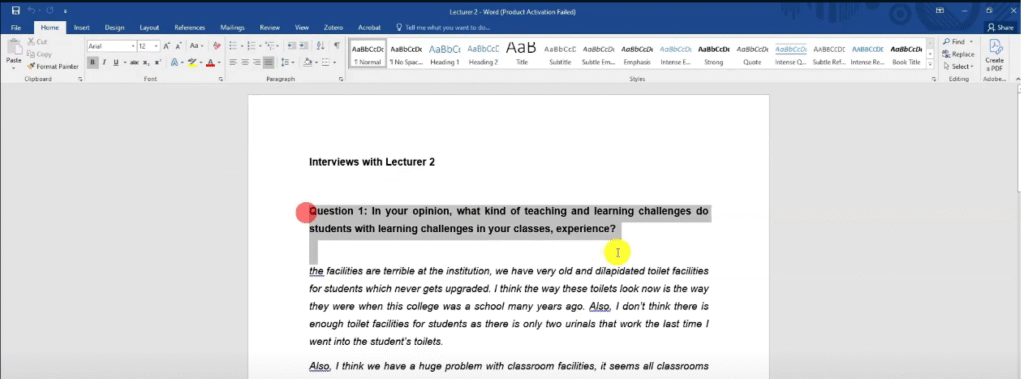
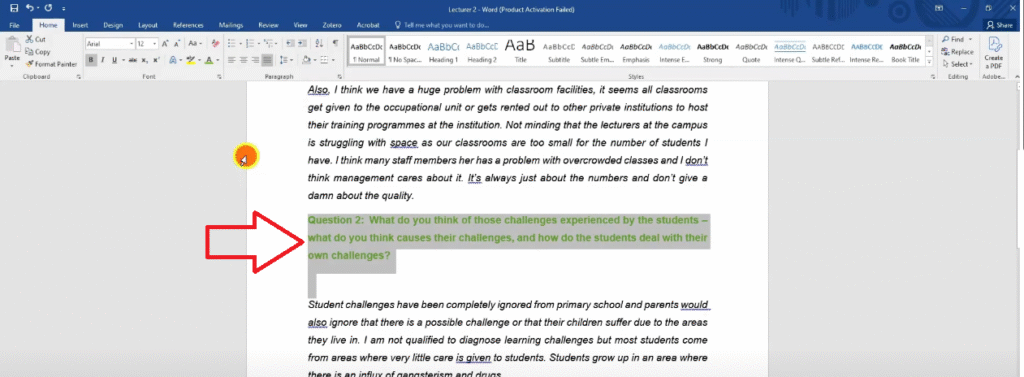
This way, when you look at your codes list, you can immediately see which codes came from which question — which is essential for grouping codes into themes later.
Coding Transcript One: Step by Step
To create a code in NVivo 15:
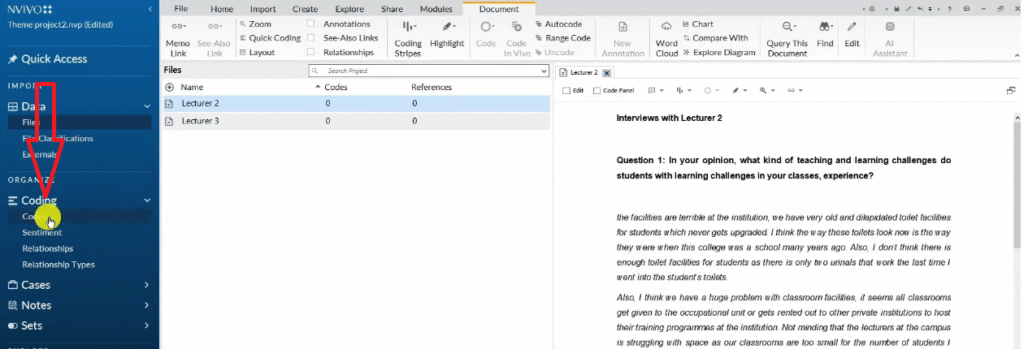
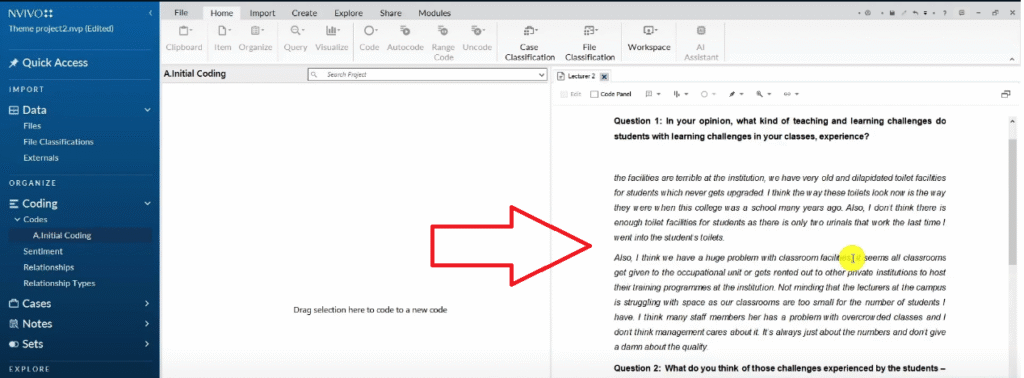
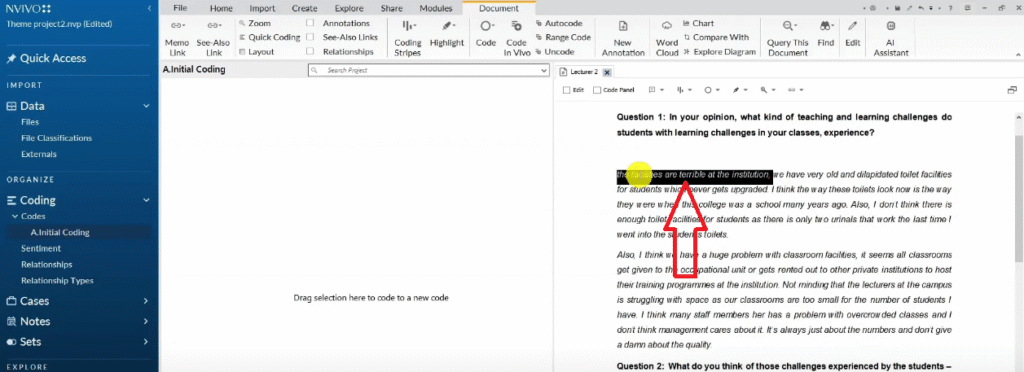
- Open your transcript in NVivo by double-clicking it
- Highlight a segment of text that is relevant to your research questions
- Drag and drop the highlighted text into the Initial Coding folder in the left panel
- NVivo will prompt you to name the code — give it a short, interpretive label
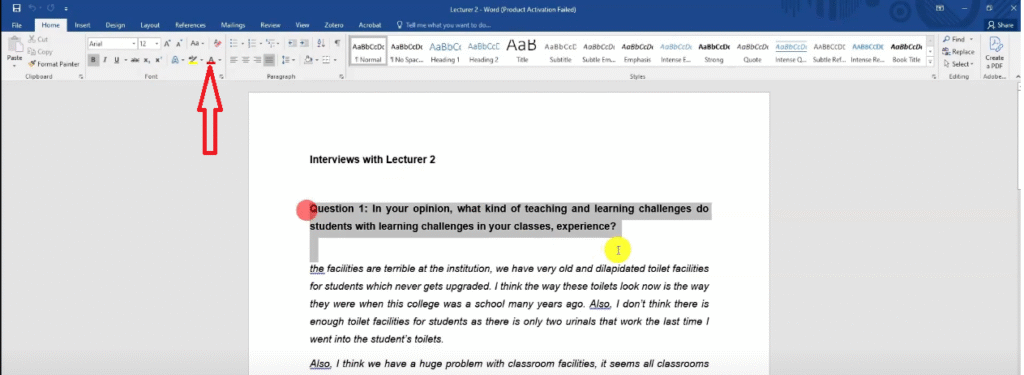
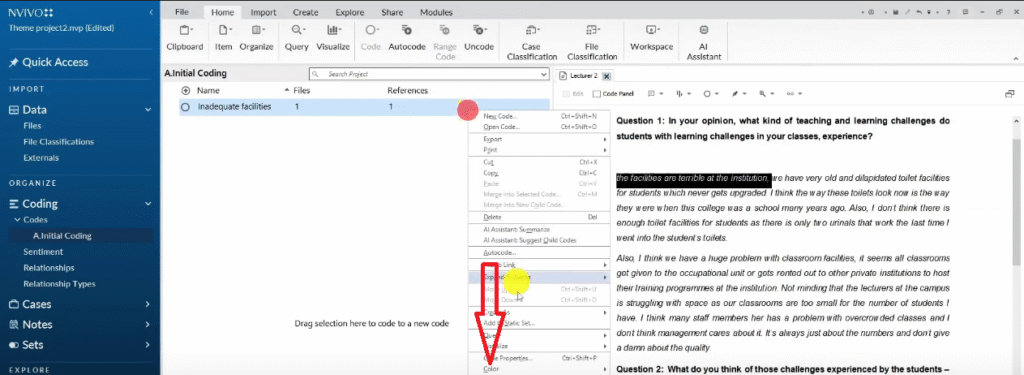
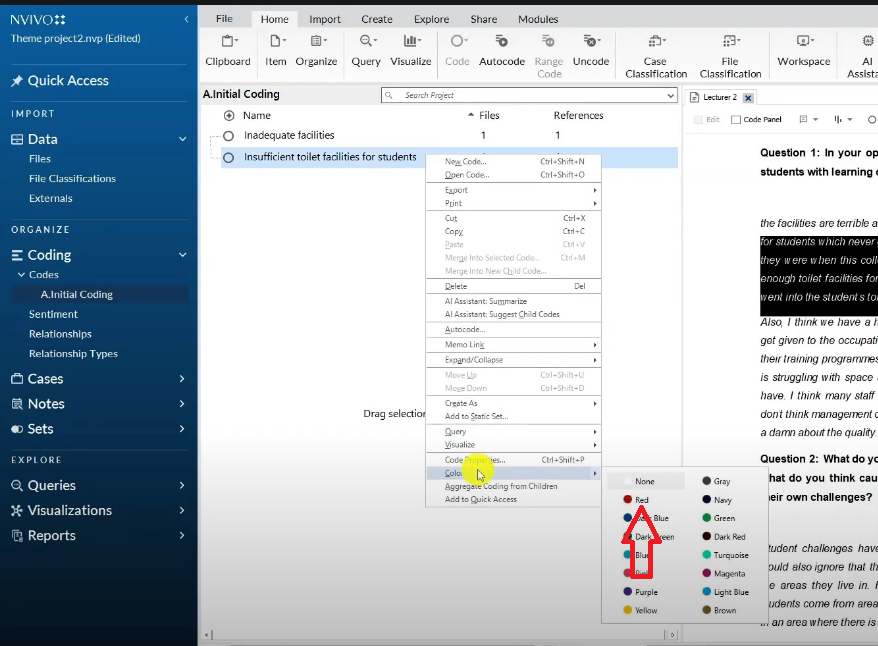
- Right-click the new code → Color → choose the colour that matches the interview question it came from
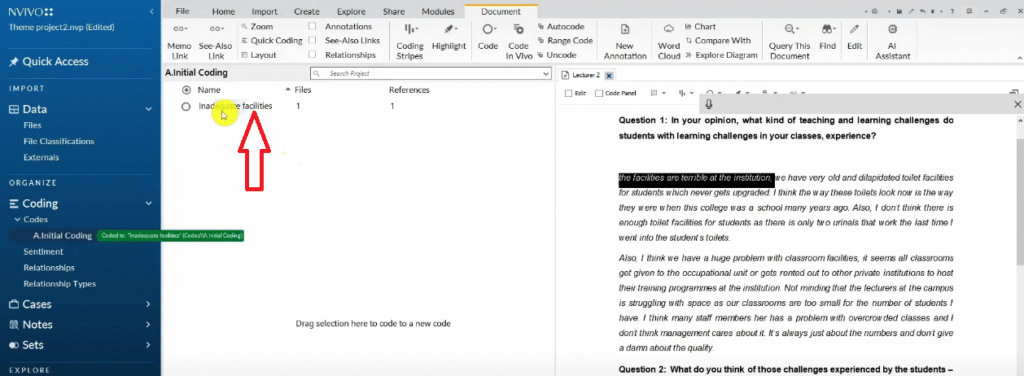
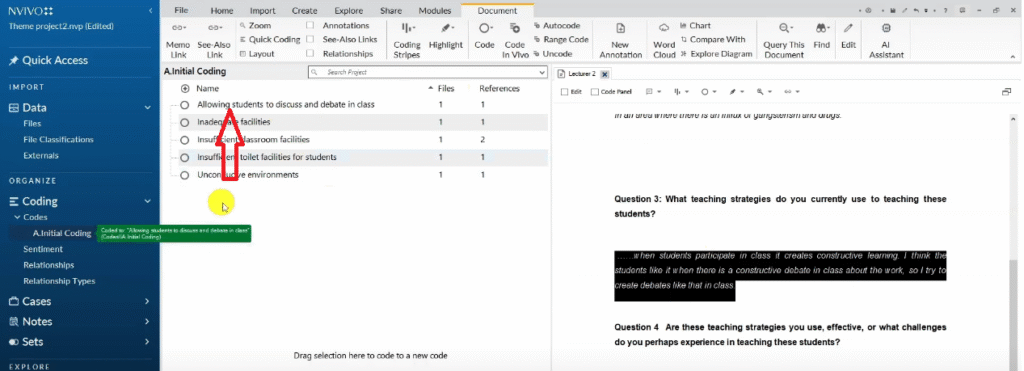
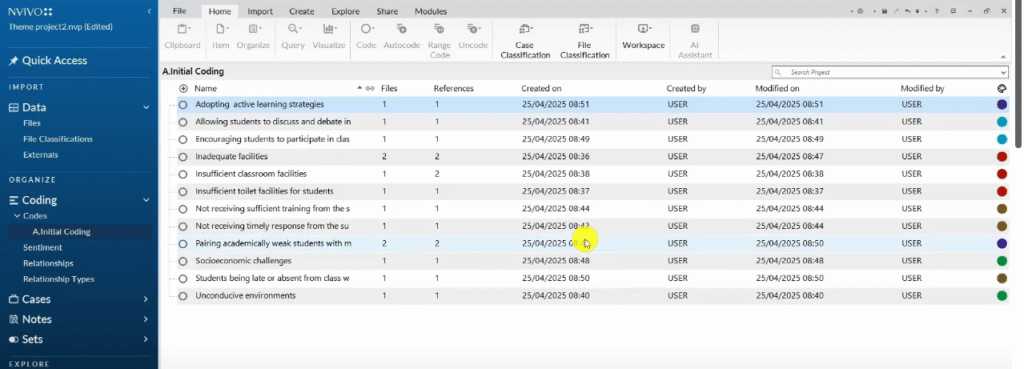
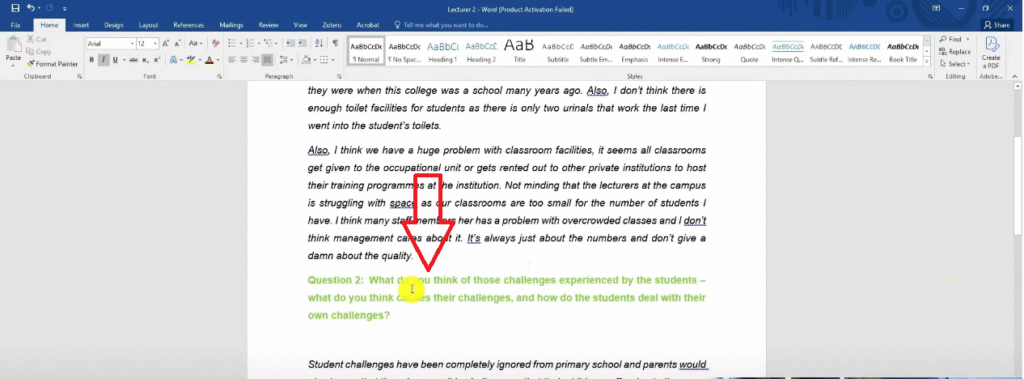
For example, from the question “What teaching and learning challenges do students in your classes experience?”, I created these initial codes:
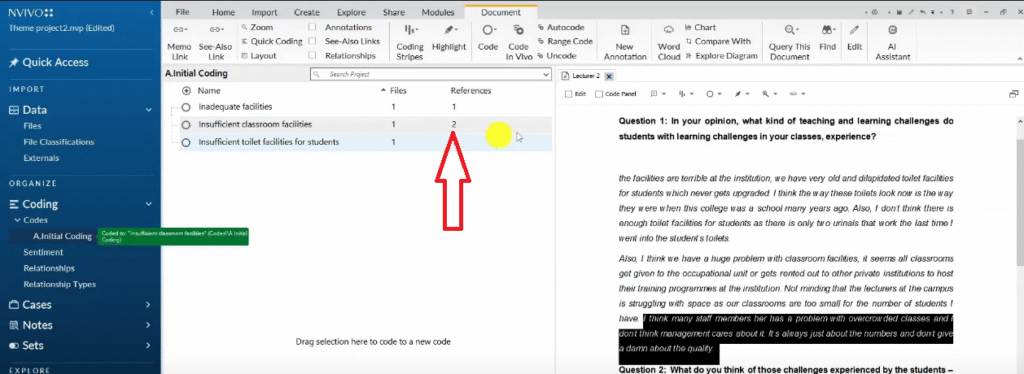
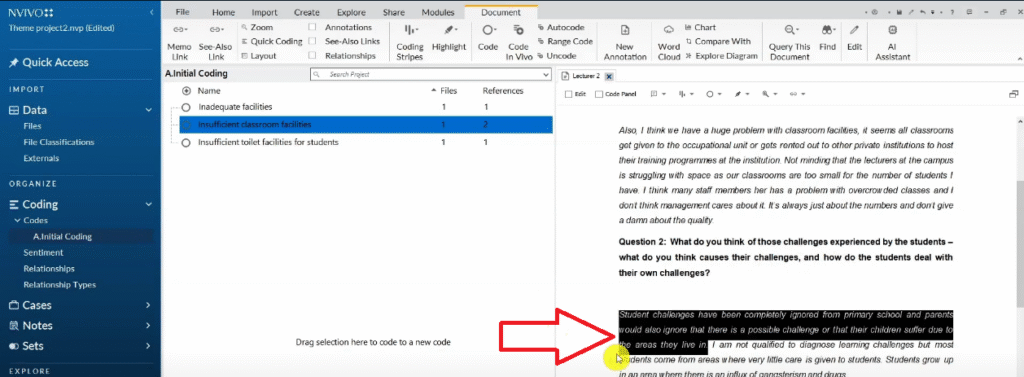
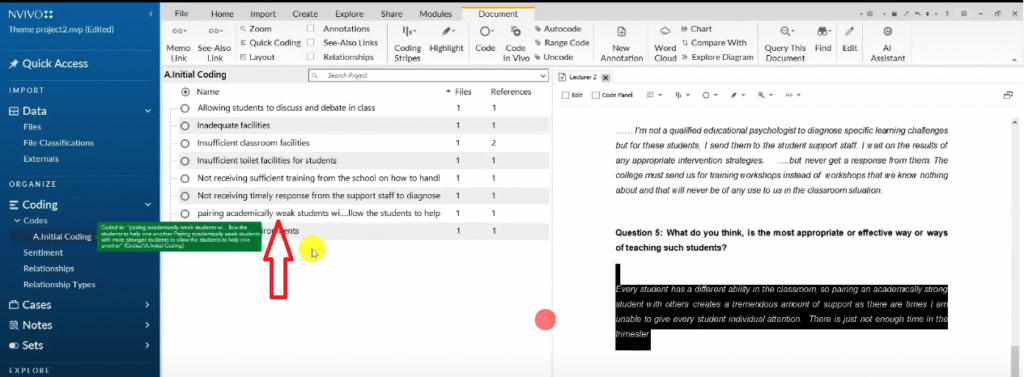
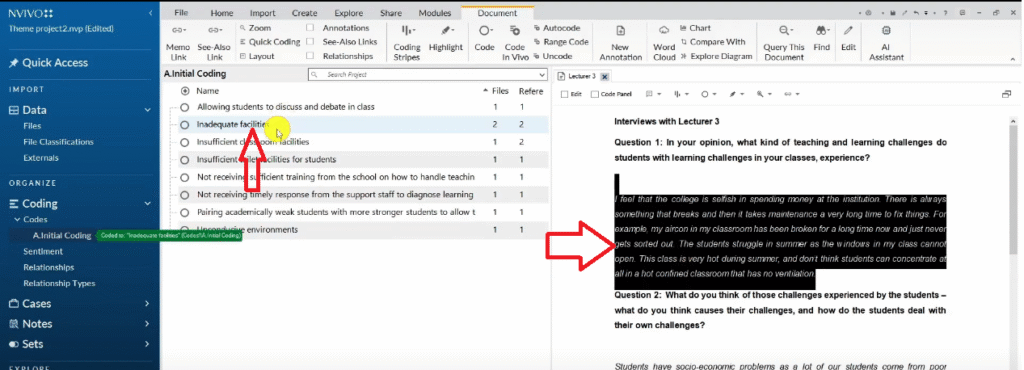
- Inadequate facilities — participants described broken aircon, overflowing toilets, overcrowded classrooms
- Insufficient classroom facilities — classrooms too small; rented to external bodies
- Insufficient toilet facilities for students — dilapidated and insufficient toilets
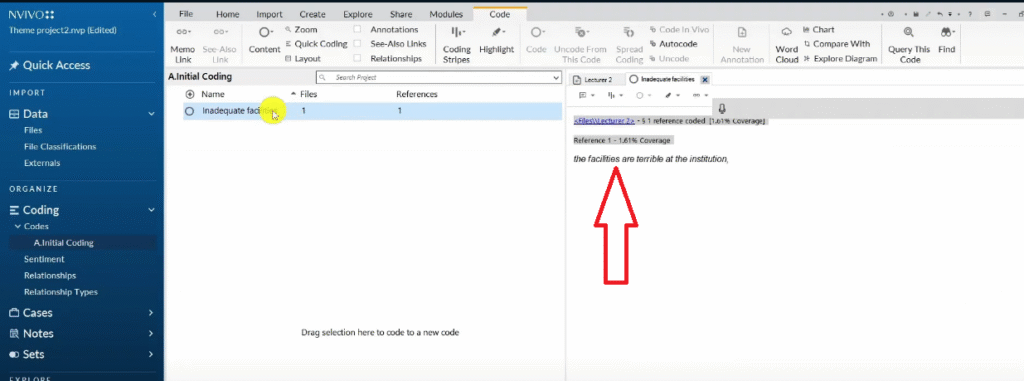
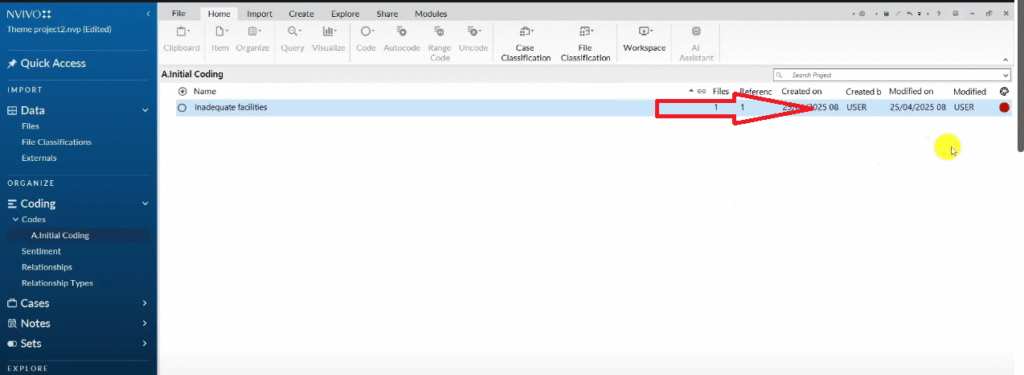


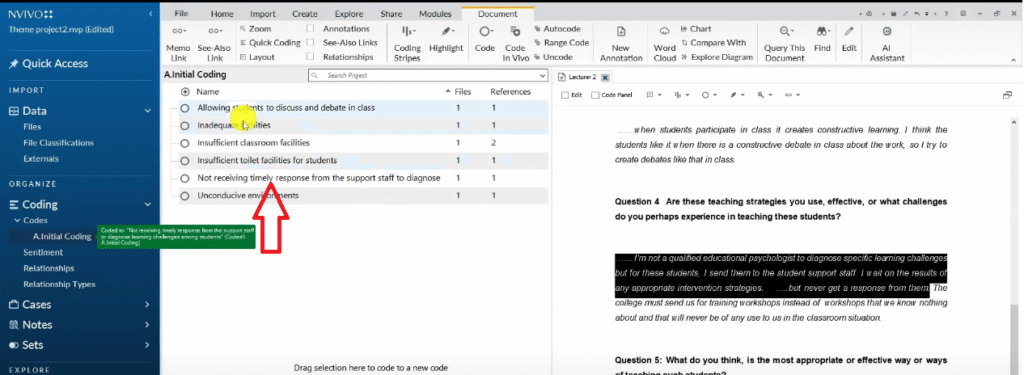
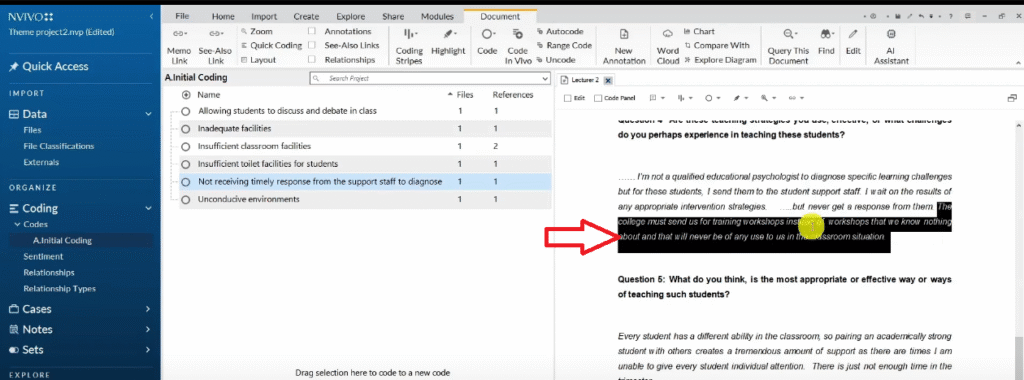
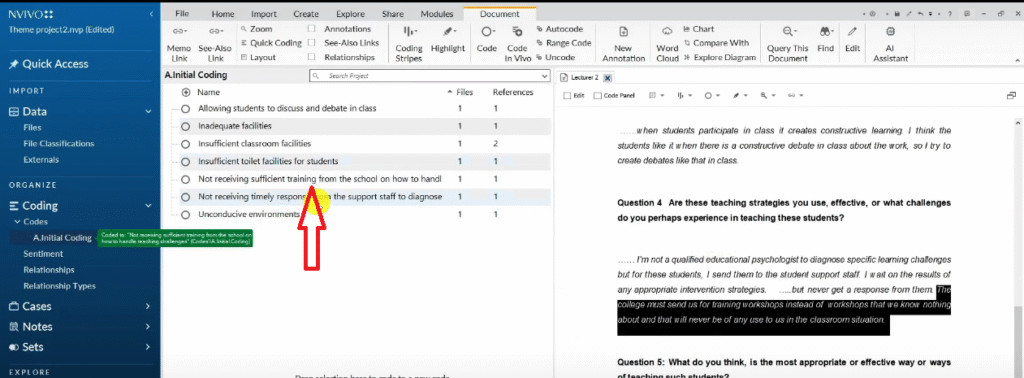
When you find a quote in a second transcript that supports an existing code, do not create a new code. Instead, drag and drop that quote directly into the existing code. The reference count on the code will increase — this tells you how many quotes support that code across all your transcripts.
Do not worry about code length. Some of my codes in this tutorial were full sentences — “Not receiving a timely response from support staff to diagnose learning challenges among students.” A specific, interpretive code is always better than a vague, short one.


Coding Transcript Two: Continuing the Analysis
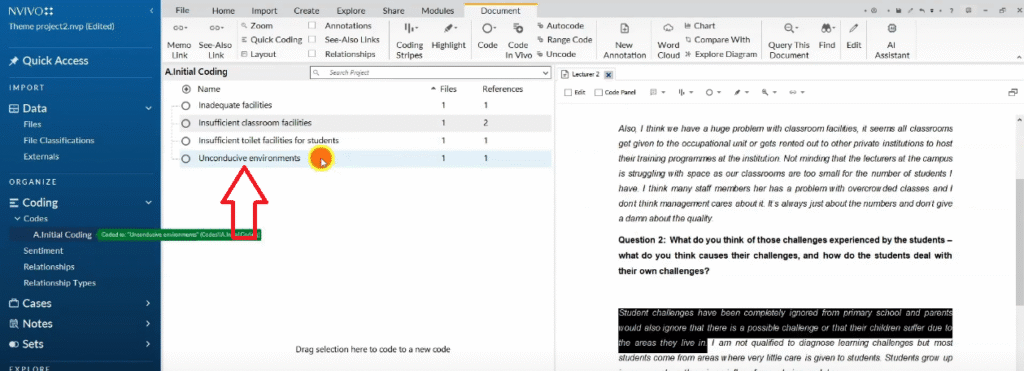
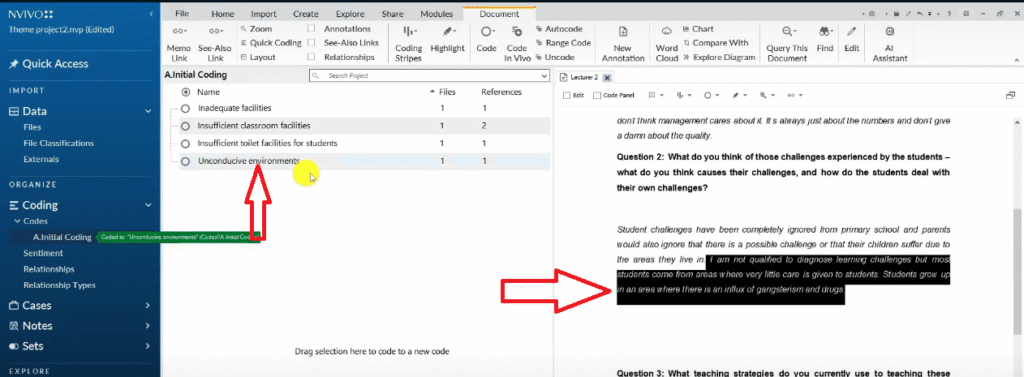
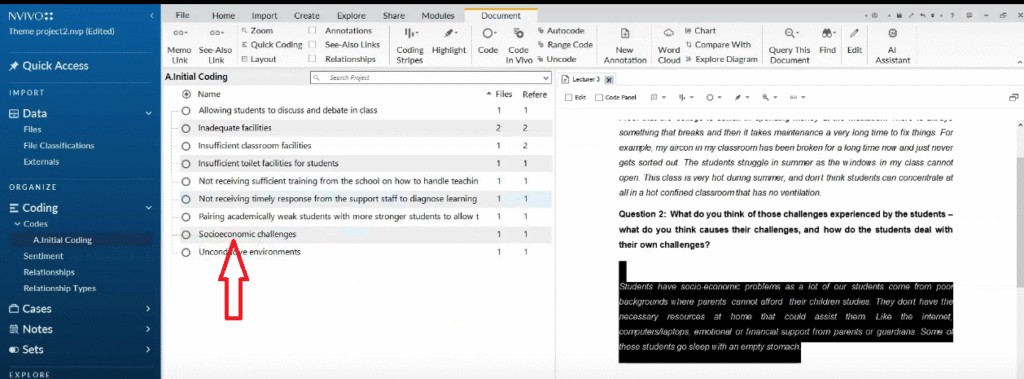
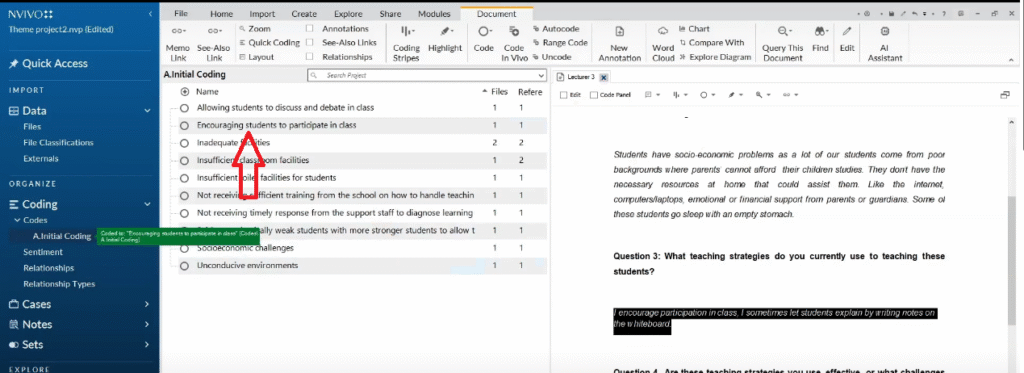
Repeat the same process for every remaining transcript. As you code your second and subsequent transcripts, you will find:
- Segments that fit existing codes — drag and drop them into the existing code
- Segments that are genuinely new — create a new code for them
- Segments that are ambiguous — create a tentative code and review it later
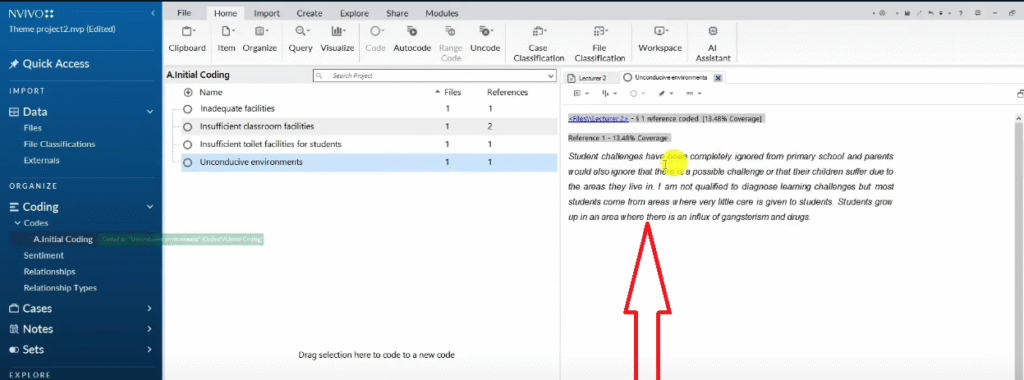
By the end of this step, you will have a list of initial codes inside your Initial Coding folder — each colour-coded to its source question, each with one or more participant quotes attached. This is your raw material for theme development.
Step 5 — Develop Preliminary Themes in NVivo 15
With your initial codes complete, you are now ready to search for patterns of shared meaning across them — this is how themes emerge.
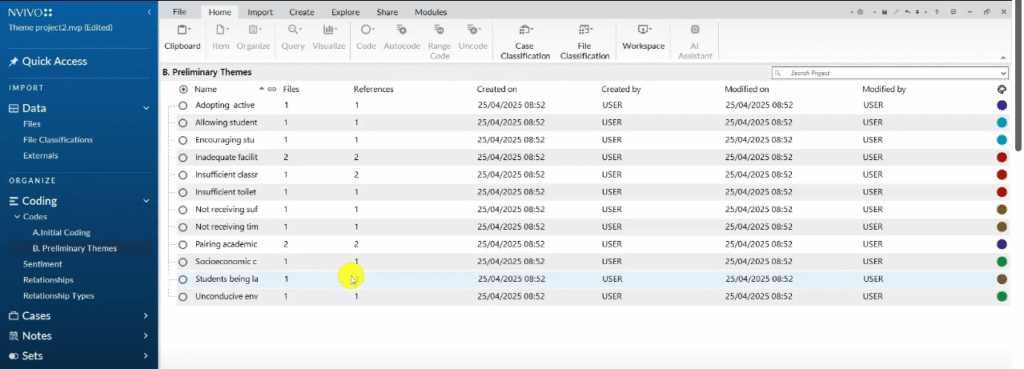
Create a new folder in the Codes section and call it “Preliminary Themes”. Then copy all your initial codes into this folder (Ctrl+A to select all, then copy and paste). You are working in the Preliminary Themes folder from this point — your original Initial Coding folder remains untouched as a reference.

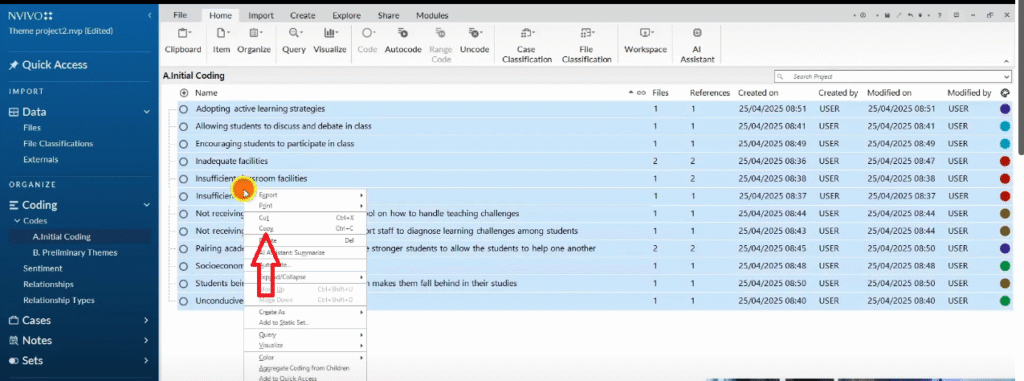
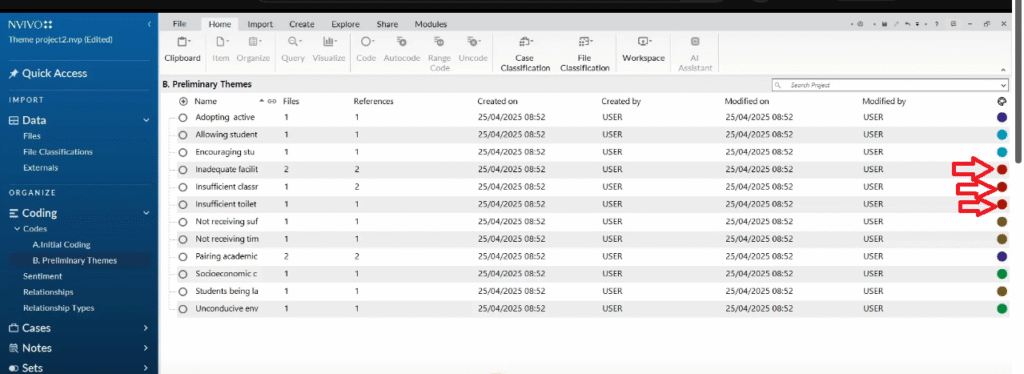
Now look across your colour-coded codes. All the codes in the same colour came from responses to the same interview question. Group them into a preliminary theme:
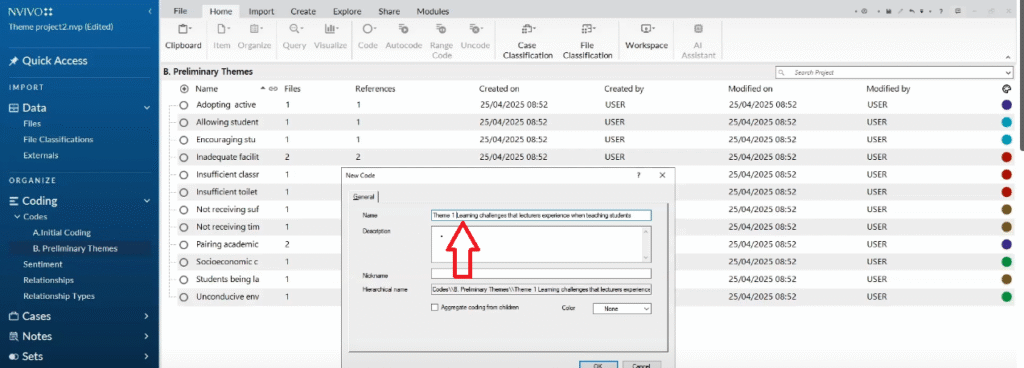
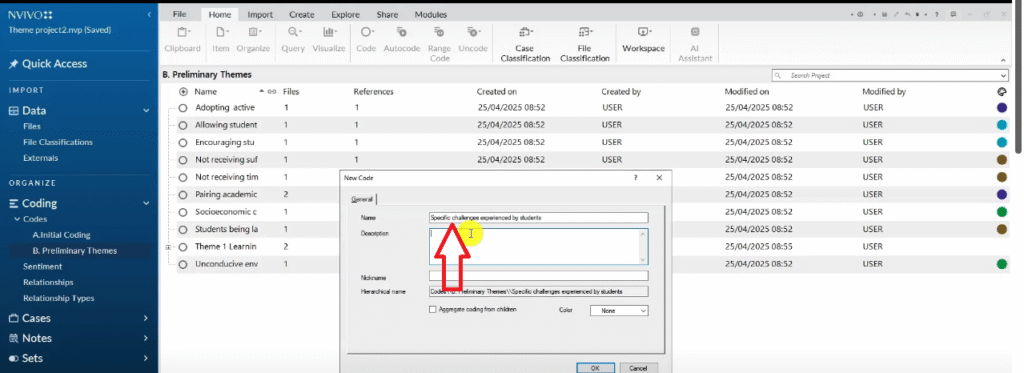
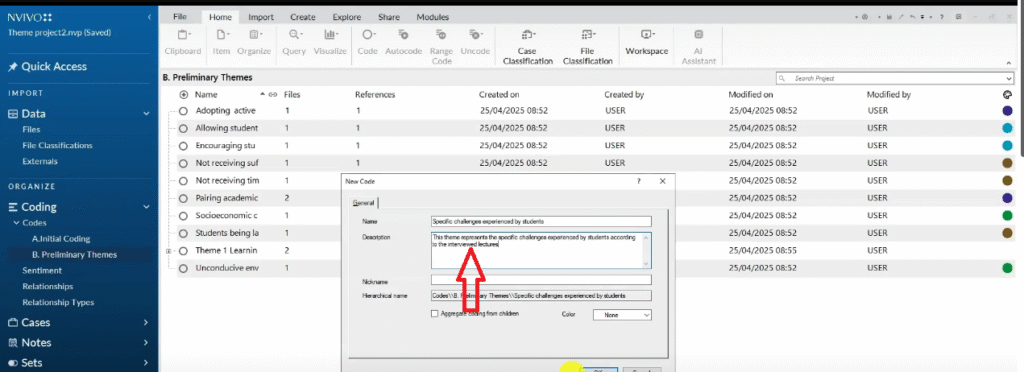
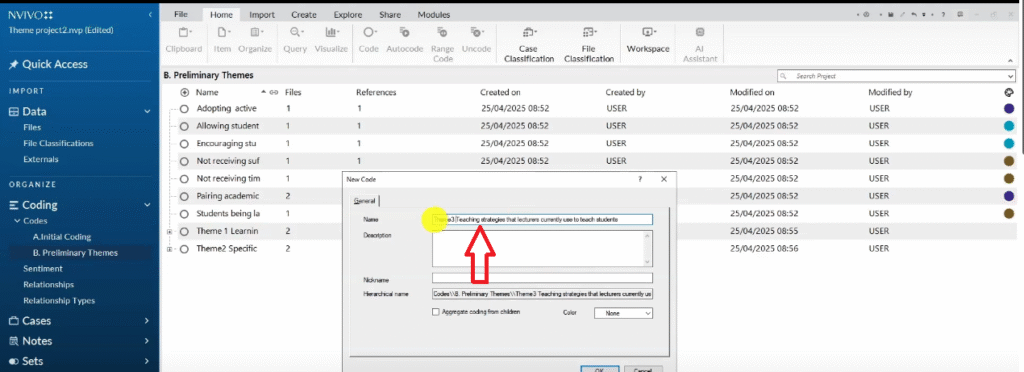
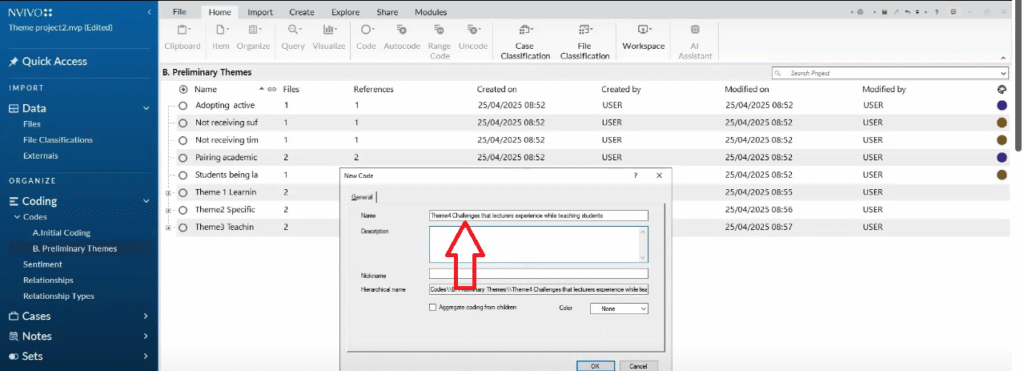
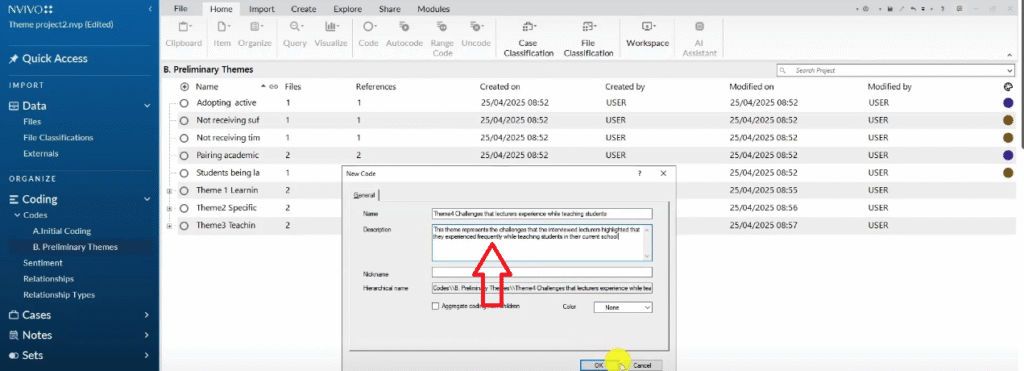
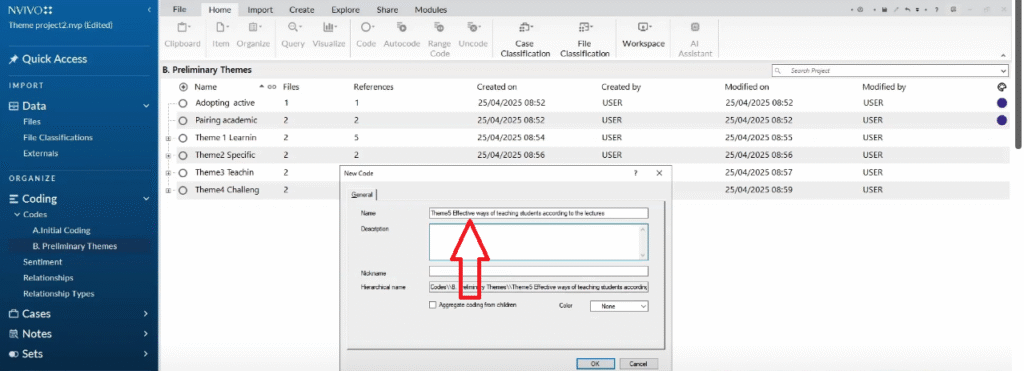
- Right-click in the Preliminary Themes folder → New Code
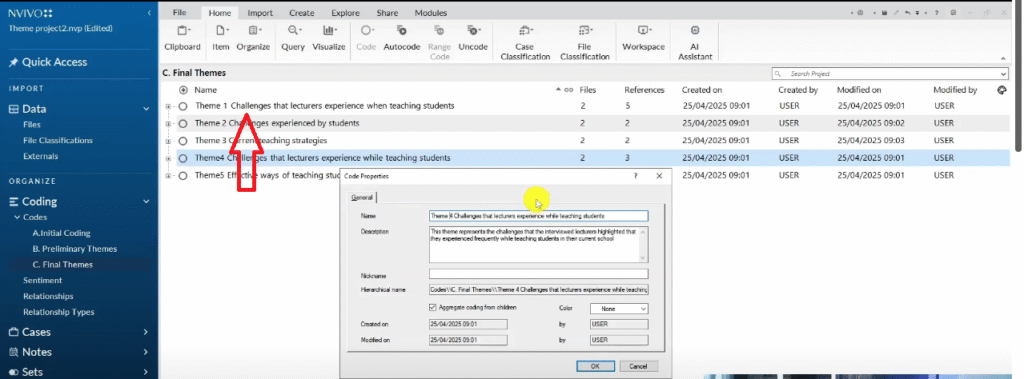
- Name the theme — for example, “Learning challenges that lecturers experience when teaching students”
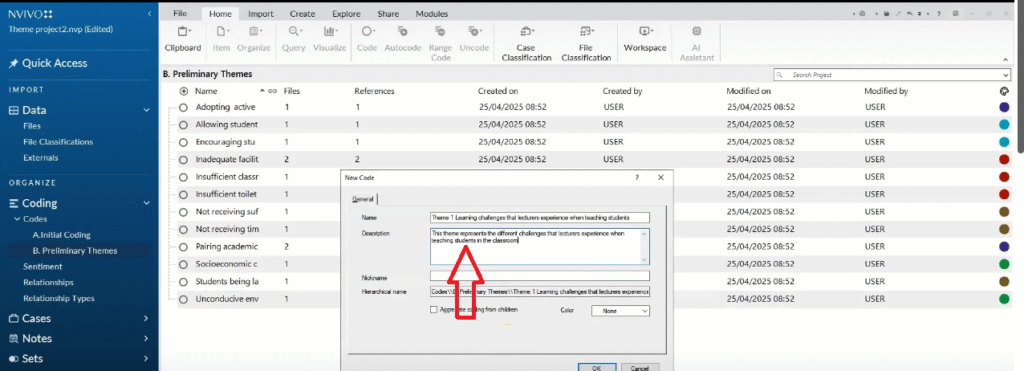
- Add a description in the description field — this is mandatory. Describe what the theme represents in one or two sentences.
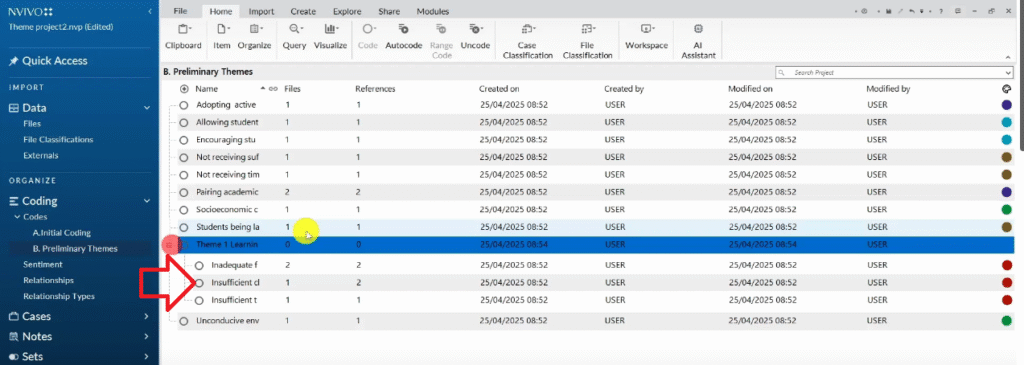
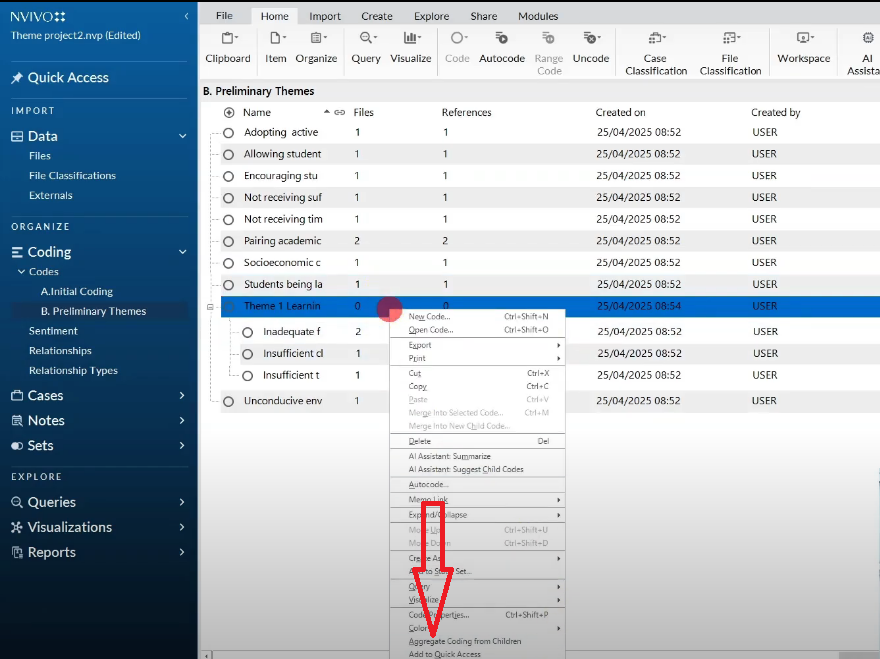
- Drag and drop all codes of the same colour underneath this theme
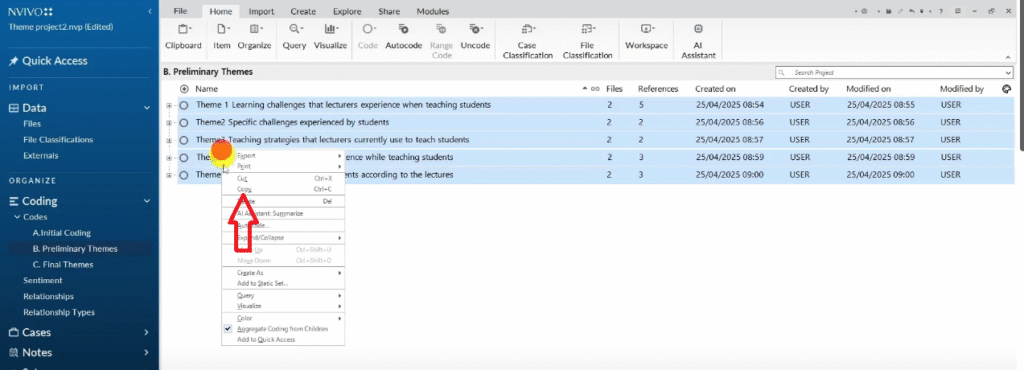
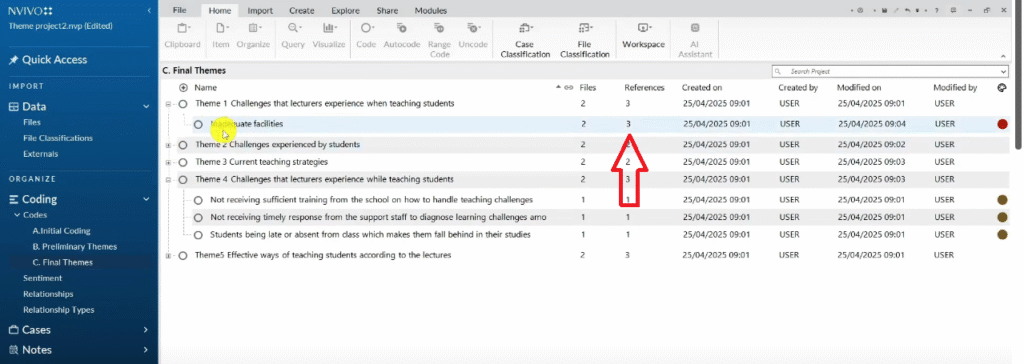
- Right-click the theme → Aggregate Coding from Children — this rolls up all the quotes from child codes into the parent theme
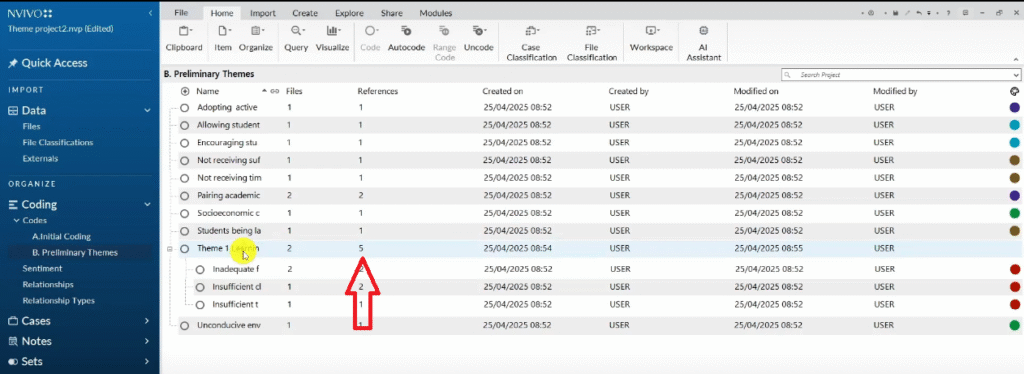
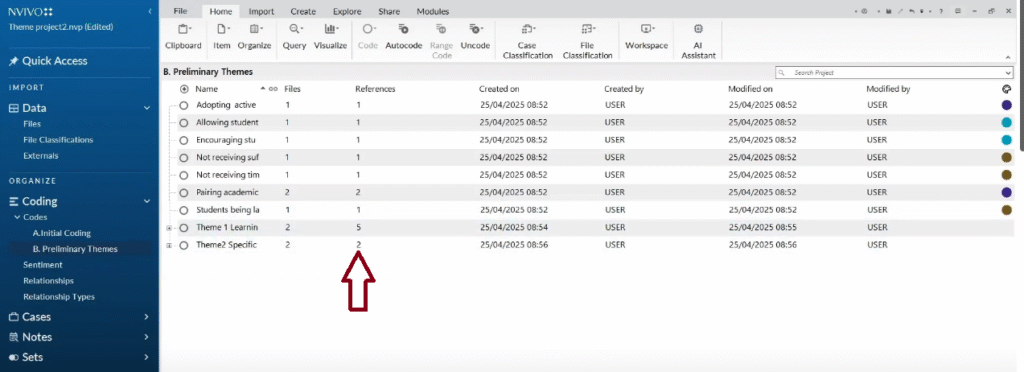

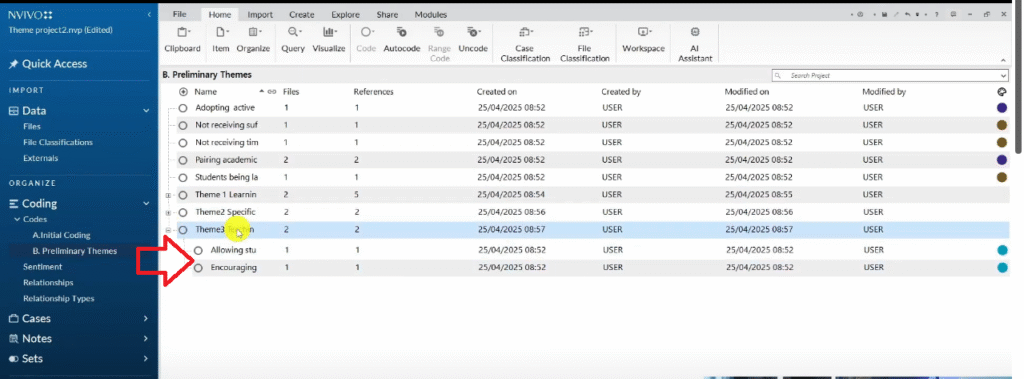
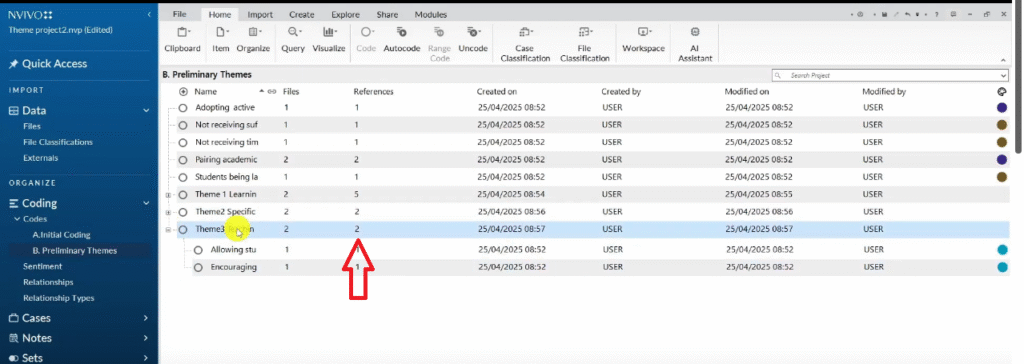


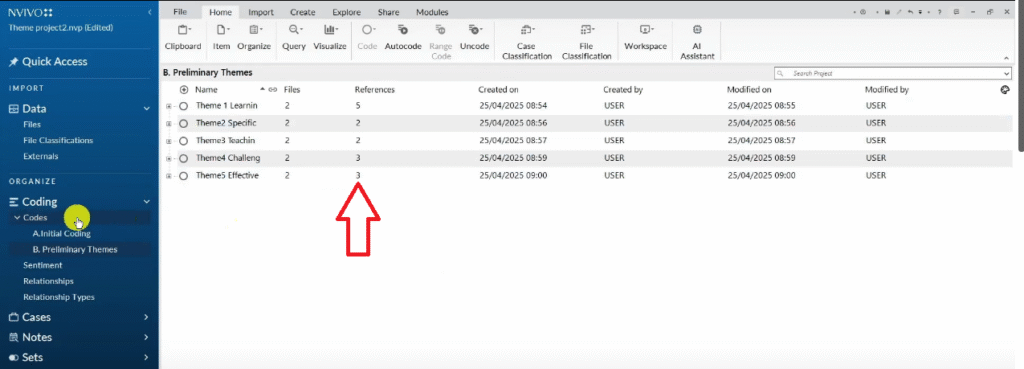
Repeat this for each colour group. By the end, you will have a set of preliminary themes — roughly one per interview question — each with a description and a set of child codes.
I cover the theme development process in more depth in my guide on how to get themes in qualitative data analysis.
Step 6 — Review and Refine Your Themes
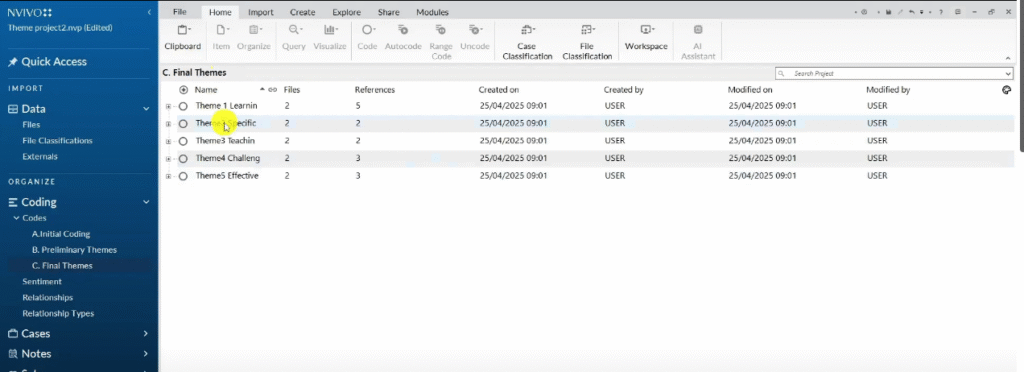
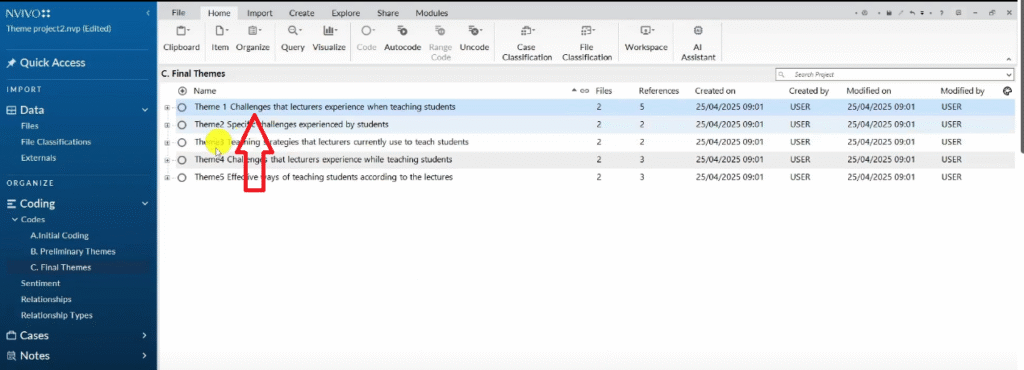
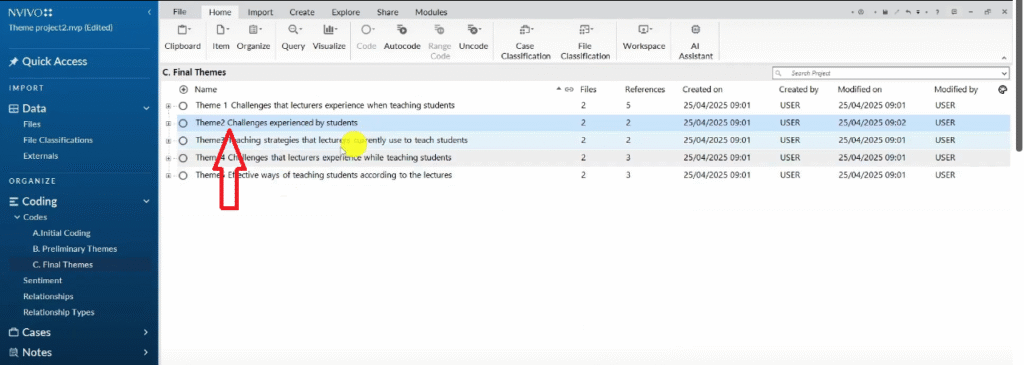
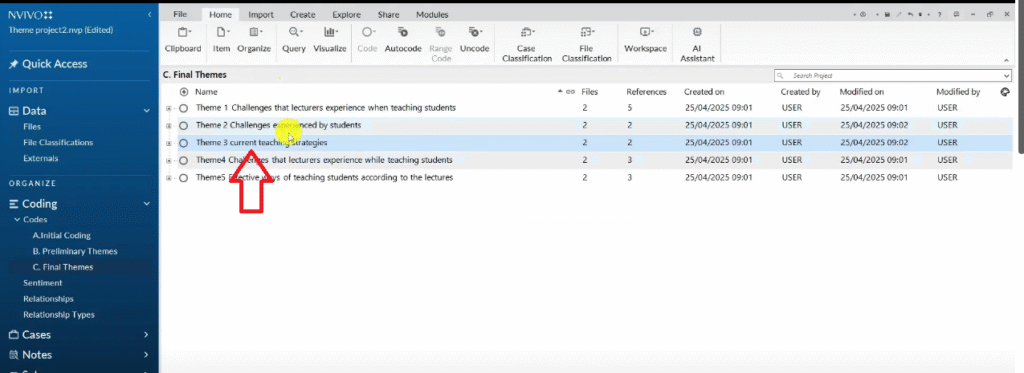
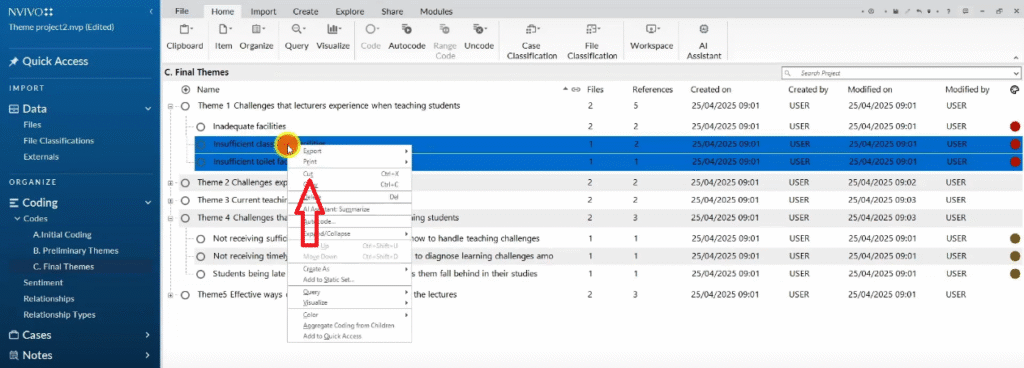
Preliminary themes are working drafts. In this step, you review them critically and refine them into your final themes. Create a new folder called “Final Themes”, copy your preliminary themes into it, and begin reviewing.
As you review, ask:
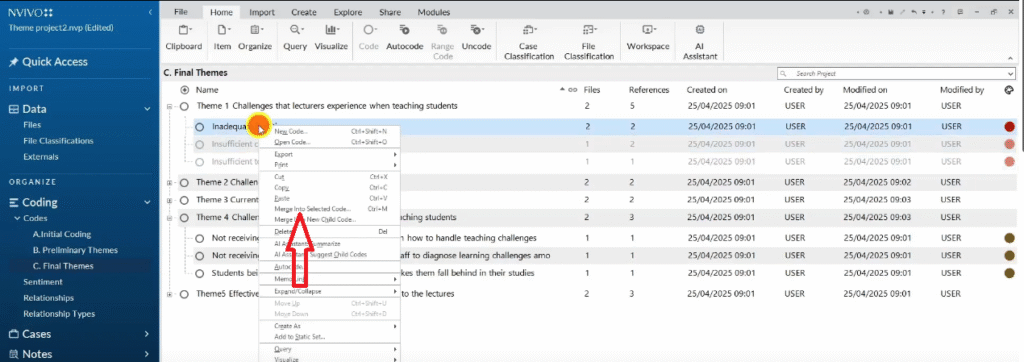
- Do any two themes overlap significantly? If yes, merge them into one.
- Does any theme try to capture too many different ideas? If yes, split it.
- Does the theme name clearly represent what is in the data? If not, rename it.
- Does every code under this theme genuinely belong here? If not, move or delete it.
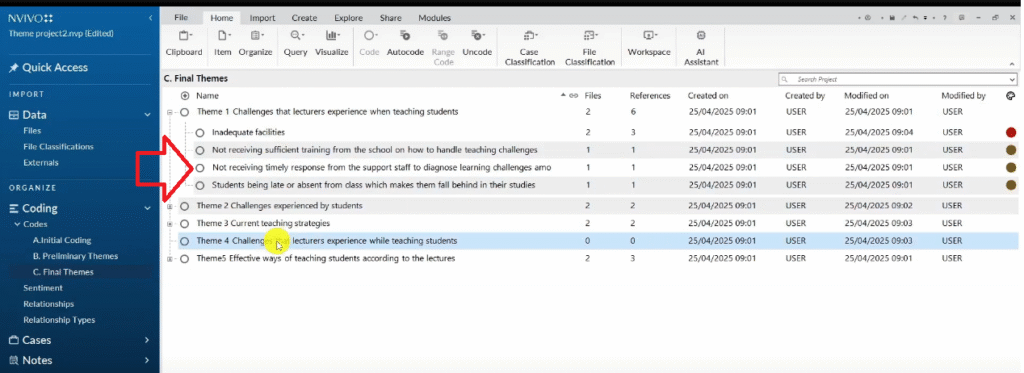
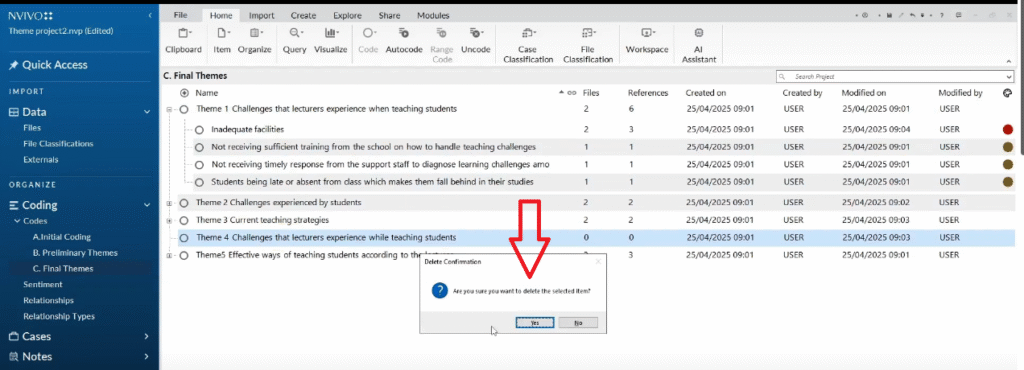
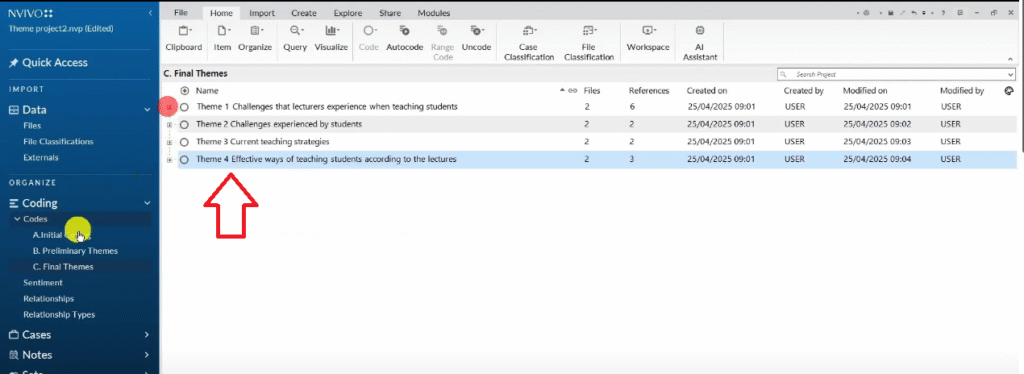
In this tutorial, my preliminary themes included two separate themes that both described challenges lecturers face. After review, I merged them into a single, cleaner theme. My five preliminary themes became four final themes — this kind of consolidation is a normal and expected part of the process.
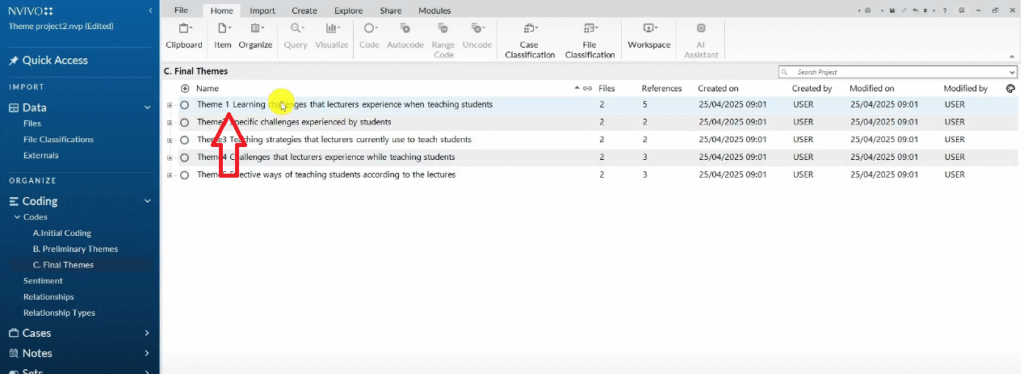
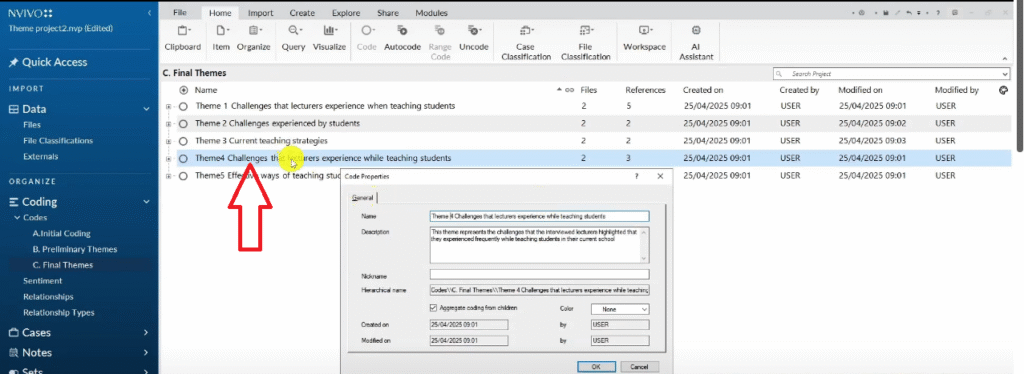
Every final theme must have:
- A clear, concise name — not too vague, not too specific
- A written description — one to two sentences explaining what the theme represents and why it matters to your research questions
- Constituent codes — the initial codes that belong under this theme, each supported by participant quotes
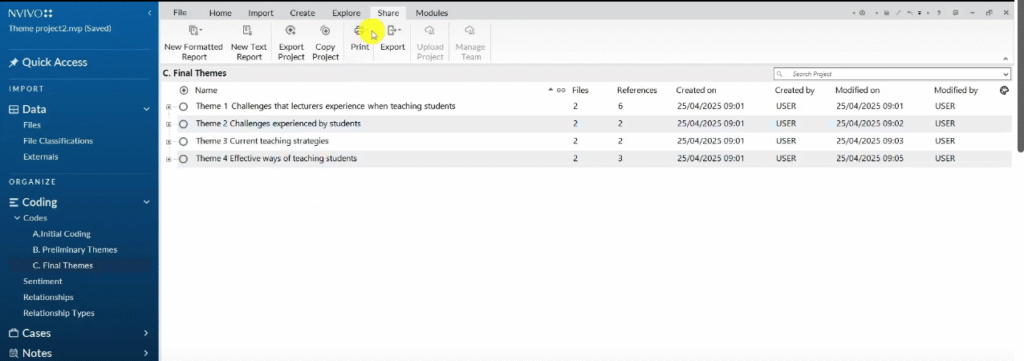
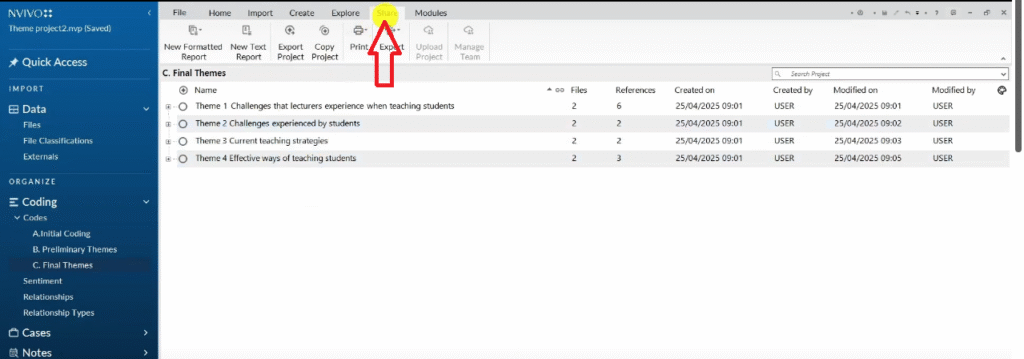
Step 7 — Export Your Codebook from NVivo 15
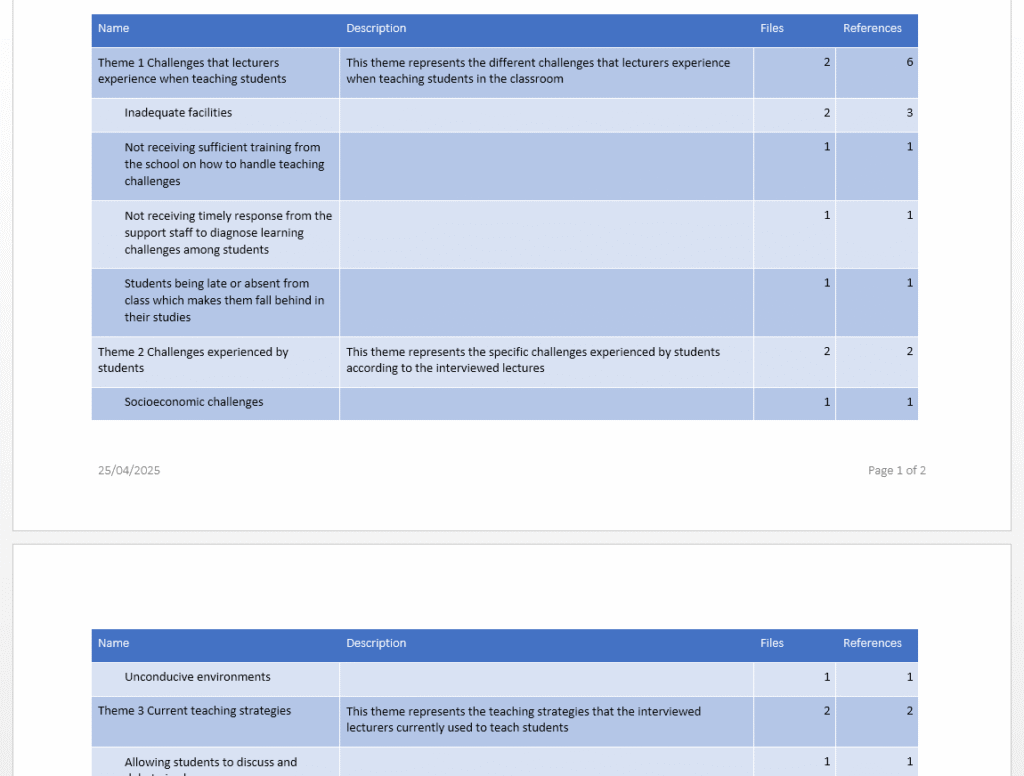
Once your final themes are in place, export your codebook. This is your audit trail — the document that proves to your examiners that you followed a rigorous, systematic process.
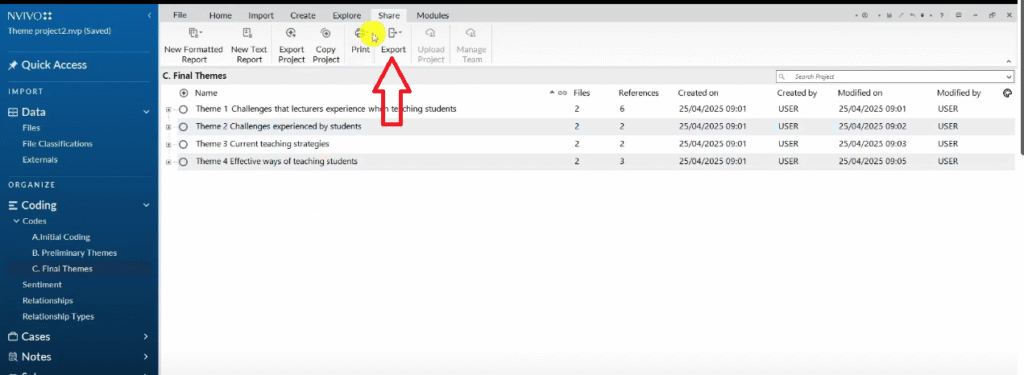
- Click the Share tab in the top ribbon
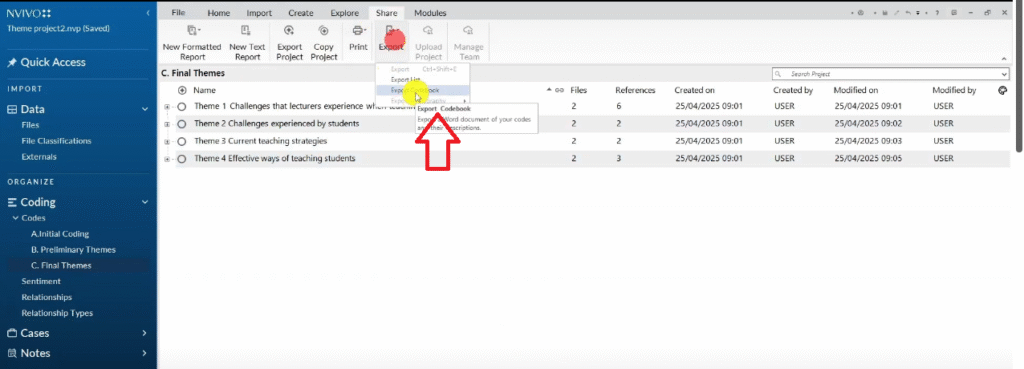
- Go to Export → Export Codebook
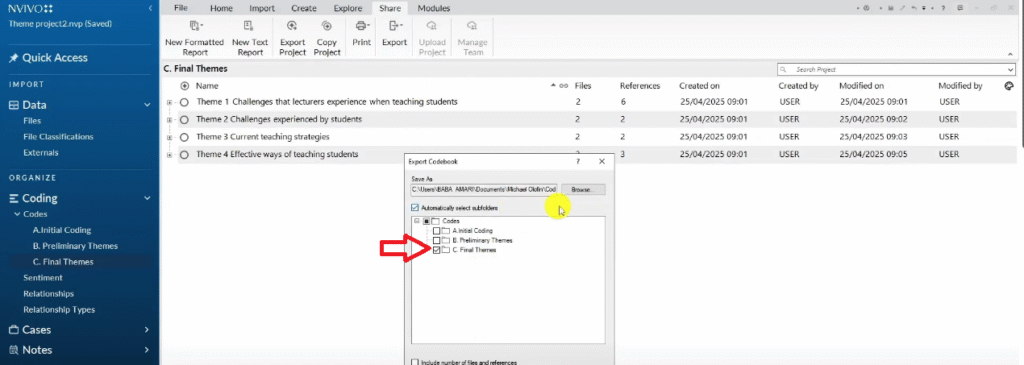
- Select your Final Themes folder
- Check the boxes for Files and References
- Click OK and save the file
The exported codebook shows your final themes, their descriptions, and the number of participants and quotes supporting each one. This document goes directly into your methodology appendix and is often referenced in your findings chapter.
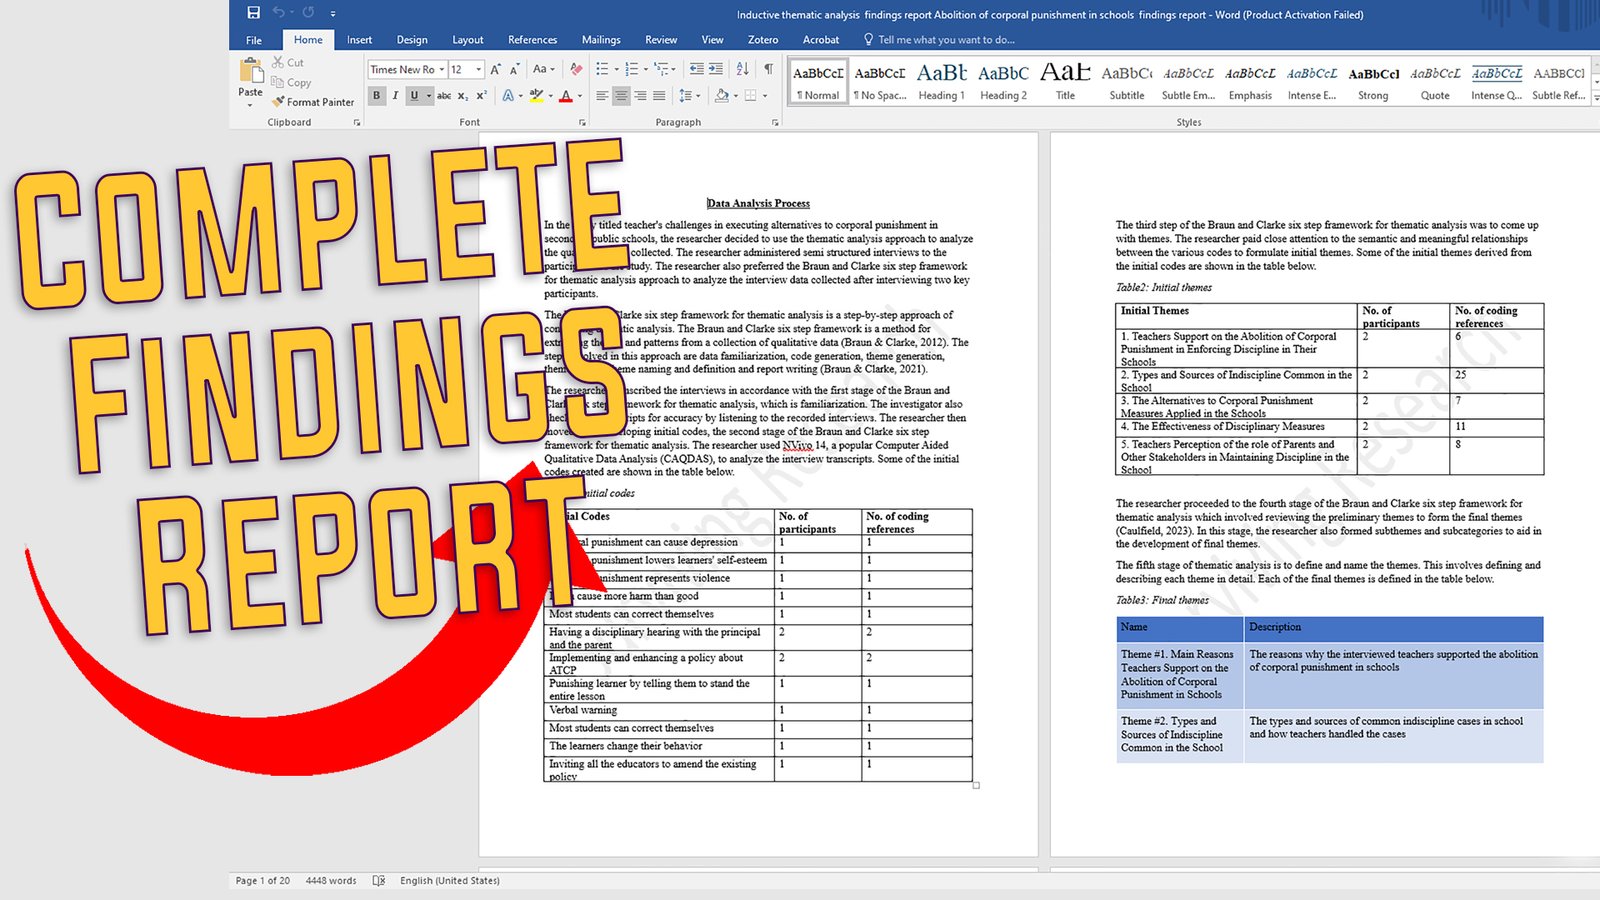
After exporting your codebook, your next step is writing your findings report. I cover the complete process — including how to export tables, write the narrative, and add visuals — in my guide on how to report thematic analysis findings in NVivo 15.
Frequently Asked Questions
Should I use the NVivo 15 AI Assistant for thematic analysis?
For your primary coding, no. Thematic analysis is an interpretive method — the codes you create reflect your analytical judgment about what participant statements mean in relation to your research questions. AI auto-coding produces surface-level labels based on word patterns, not meaning. That said, AI coding can be useful as a starting point to check whether you have missed any segments, or to compare against your manual coding as a form of reflexive check.
Do I need to code every word of every transcript?
No. You code segments that are relevant to your research questions and objectives. Some parts of a transcript — greetings, digressions, explanations unrelated to your research — do not need to be coded. Use your research questions as your guide: if a segment helps answer them, code it. If not, leave it.
How many codes should I have before developing themes?
There is no fixed number, but most qualitative studies produce between 20 and 80 initial codes across their full dataset, depending on sample size and topic complexity. Aim for thorough coverage rather than a specific count. If you have fewer than 15 codes from multiple transcripts, you may need to re-read your data more carefully.
Can I use NVivo 15 for methods other than thematic analysis?
Yes. NVivo supports grounded theory, narrative analysis, content analysis, discourse analysis, and interpretive phenomenological analysis (IPA). The coding process differs slightly between methods, but the core NVivo interface — importing files, creating codes, and organizing them — is the same. I give an overview of all six qualitative data analysis methods in a separate guide.
What is the difference between a preliminary theme and a final theme?
A preliminary theme is a working category you create during your first pass at grouping codes — it is tentative and may change significantly during review. A final theme is the result of reviewing, refining, and sometimes merging or splitting preliminary themes. Final themes should be clearly named, have a written description, and be directly supportable by participant quotes from your data.
Key Takeaways
- NVivo 15 adds an AI Assistant over NVivo 14 — use it cautiously as a supplementary check, not as your primary coding method
- A code is an interpretive label, not a summary — aim for codes that capture meaning, not just content
- Use NVivo’s colour-coding system to track which codes came from which interview question — this makes theme development significantly easier
- Create separate folders for Initial Coding, Preliminary Themes, and Final Themes — this preserves your audit trail at each stage
- Every preliminary and final theme must have a written description — this is what examiners check first
- Merging themes during review is expected and healthy — going from five preliminary themes to four final themes is a sign of rigorous analysis, not a mistake
- Export your codebook before you start writing your findings report — it is your primary evidence of methodological rigour
What’s Next After Your NVivo 15 Thematic Analysis?
If you’re working through reflexive thematic analysis for your dissertation and need expert support, I offer a done-for-you NVivo thematic analysis service that takes your transcripts and delivers a complete, academically sound findings report. You can also book a consulting session if you’d prefer to work through the analysis together. Reach out at bernardmugo@survivingresearch.com — I’m happy to help.