Last Updated on 3 months ago by Bernard Mugo
If you have a pile of interview transcripts and no idea how to turn them into meaningful findings, this guide is for you. In this tutorial, I’ll show you exactly how to conduct thematic analysis in NVivo 15 — from importing your first transcript all the way to producing clean, well-defined final themes ready for your findings chapter.

My name is Bernard Mugo. Over the past three years, I’ve helped more than 200 PhD students analyze qualitative data and complete their dissertations. The step-by-step process I walk you through here is exactly what I use with my own consulting clients.
What Is Thematic Analysis? (Quick Definition)
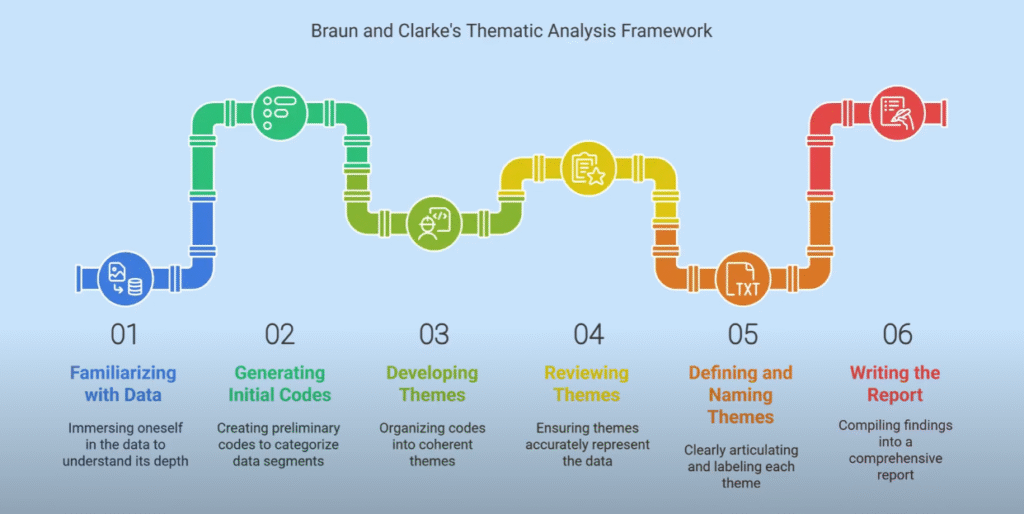
Thematic analysis is a qualitative research method used to identify, analyze, and report patterns — called themes — within data. The most widely used framework is the one developed by Braun and Clarke, which breaks the process into six stages: familiarizing with the data, generating initial codes, searching for themes, reviewing themes, defining and naming themes, and producing the report.

If you want to go deeper on the framework itself, Braun and Clarke’s original 2006 paper in Qualitative Research in Psychology is the foundational source every PhD student should read.
In this tutorial, I’m using NVivo 15 to move through the first four stages of that framework — from raw transcripts to refined final themes. For a broader overview of what qualitative coding actually involves, SAGE Research Methods has an excellent free introduction worth bookmarking.
Understanding the NVivo 15 Interface
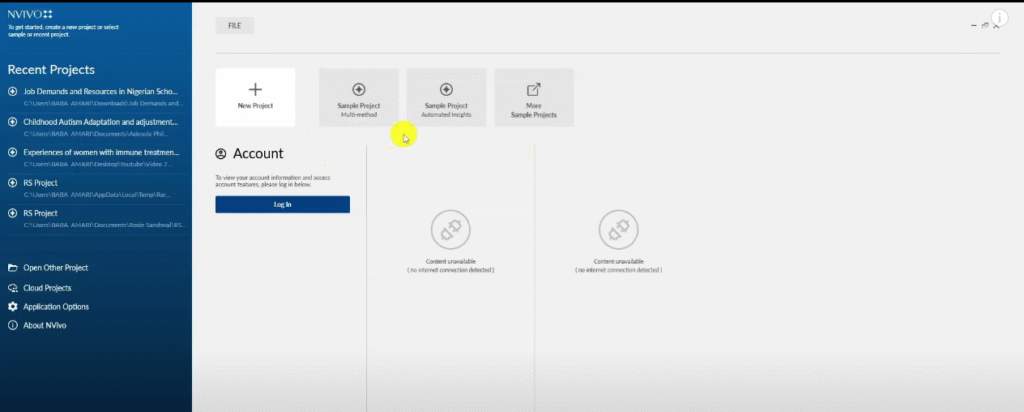
Before we start coding, let me give you a quick orientation to NVivo 15. When you first open a new project, you’ll see three main menus.
The Three Menus You Need to Know
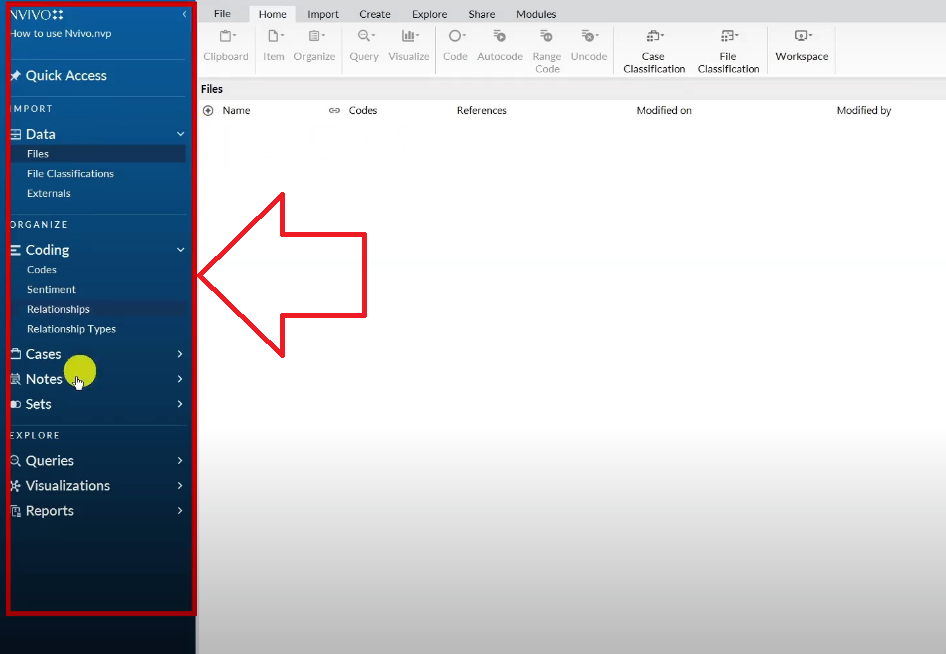
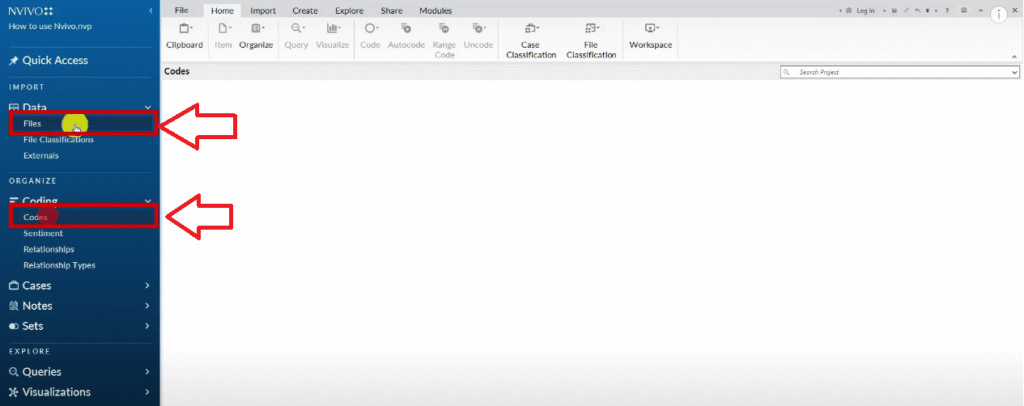
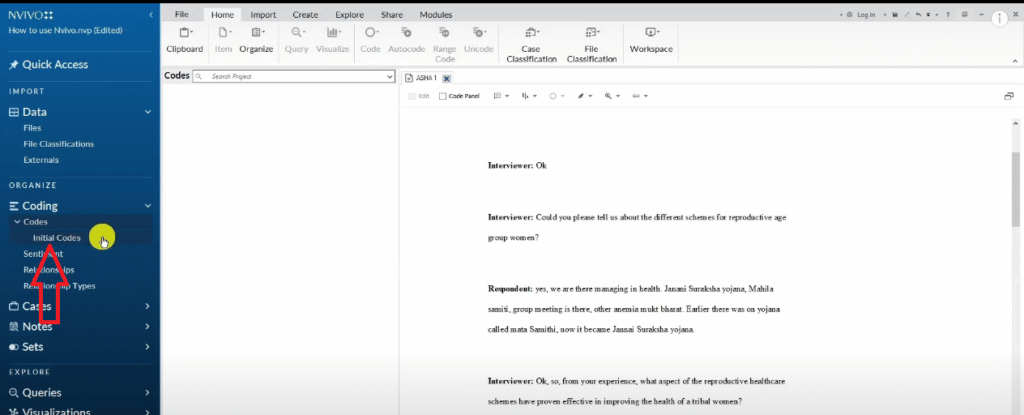
- The blue menu on the left — your navigation panel. This is where you access your files, codes, and folders.
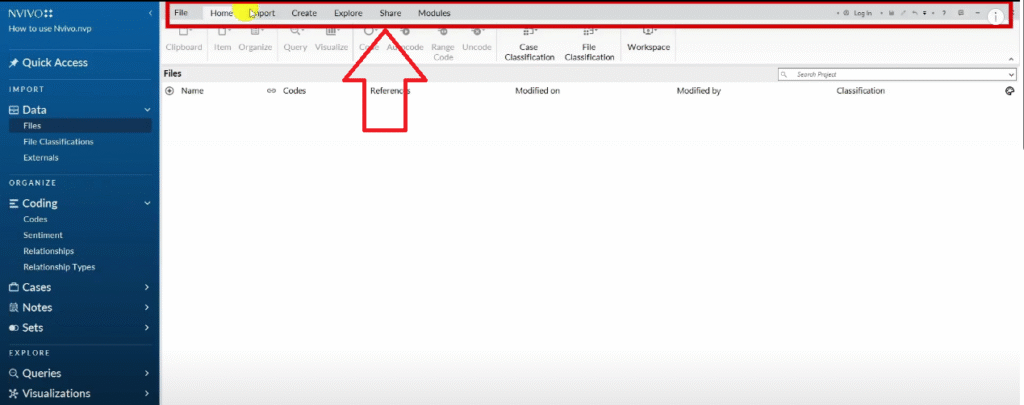
- The dark grey menu at the top — your main toolbar. It contains sections like File, Import, Clipboard, Modules, and Share.
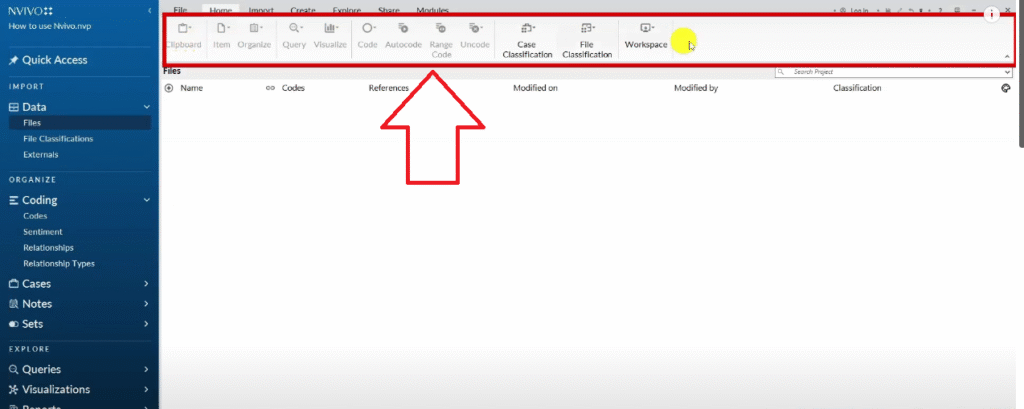
- The light grey ribbon in the middle — your action toolbar. This is where you’ll find tools for coding, auto-coding, classification, and the AI Assistant.
When you create a new project, I recommend one important setting: do not enable auto-save. NVivo can crash unexpectedly, and auto-save sometimes locks the file in an unrecoverable state. Instead, set a reminder every 15 minutes so you manually save and stay in control of your work.
What’s New in NVivo 15 vs NVivo 14?
NVivo 15 was launched in August 2024. The main difference from NVivo 14 is the addition of the AI Assistant — a built-in tool that can suggest codes automatically.
I want to be clear here: I’ve tested the AI Assistant and I do not recommend using it as your primary coding method. AI coding is still primitive, and more importantly, it raises significant ethical questions around researcher positionality and interpretation. Thematic analysis requires your judgment as a researcher. The AI doesn’t understand your research questions — it just pattern-matches text.
Use the AI Assistant as a reference point if you like, but always code manually. I’ll show you how in the next section.
How to Import Your Transcripts into NVivo 15
There are two ways to import interview transcripts. Use whichever feels more natural to you.
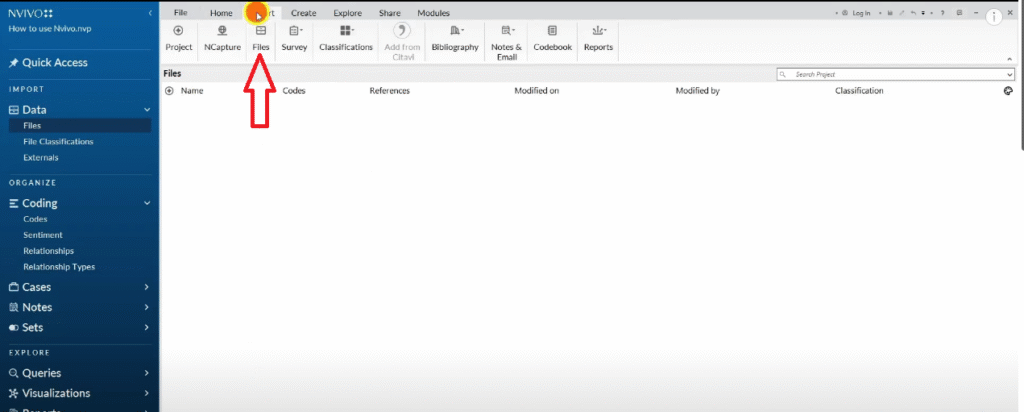
Method 1 — Using the File menu:
- Click on the File section in the top dark grey menu.
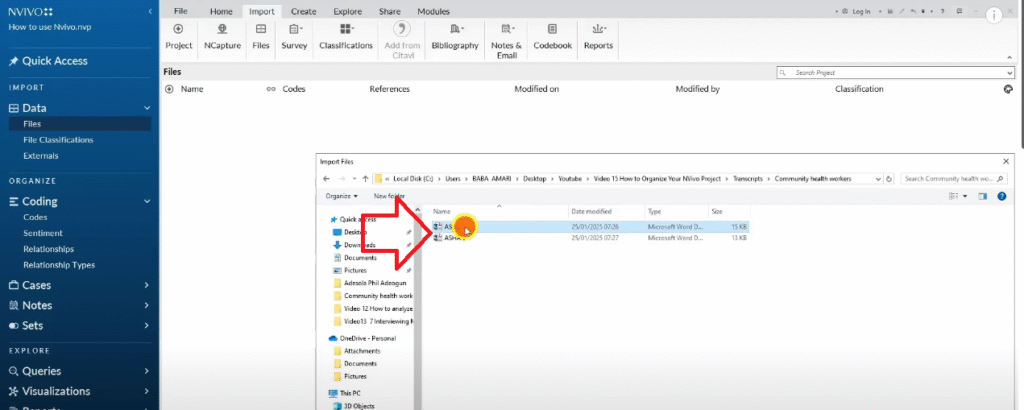
- Select Import, then click Files.
- Navigate to your transcript folder and select your file.
- Click Import.
Method 2 — Drag and drop:
- Open your transcript folder in Windows Explorer or Finder.
- Drag the transcript file directly into the NVivo workspace panel.
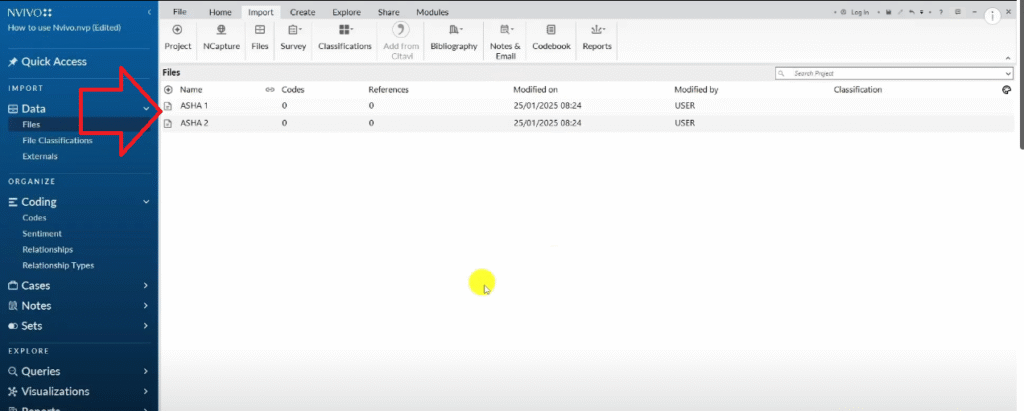
For this tutorial, I’m working with two transcripts from a study on challenges teachers experience when teaching in a community college, and the teaching strategies they adopt. I imported both transcripts and they now appear in the Files panel, ready for analysis.
Need help preparing your transcripts before importing? My guide on how to conduct a qualitative research interview covers transcript formatting best practices.
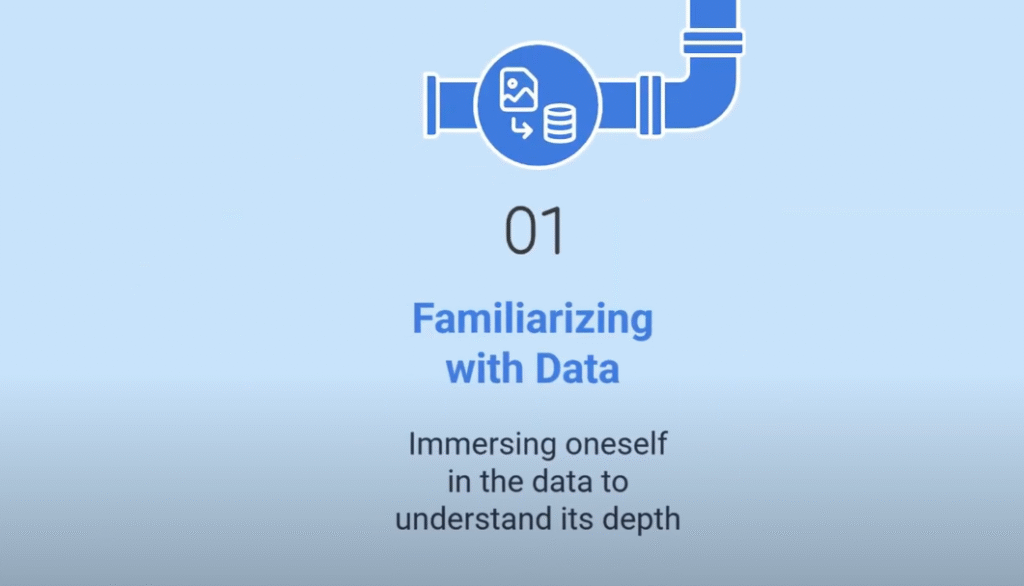
Step 1 — Familiarize Yourself with the Data
Before you create a single code, read your transcripts. All of them. This is Step 1 in Braun and Clarke’s thematic analysis framework and it is non-negotiable.
Familiarization means reading actively — noting what stands out, what surprises you, what connects to your research questions. Don’t start assigning codes yet. Just read and make notes in the margins.
For our study on community college teaching, I read both transcripts in full before touching a single code in NVivo. This reading gave me a sense of the key tensions participants described: inadequate facilities, support structures that weren’t working, and strategies they’d developed on their own.
Step 2 — Generate Initial Codes in NVivo 15
Once you’ve read and re-read your data, it’s time to start coding. This is where NVivo 15 becomes your most powerful tool.
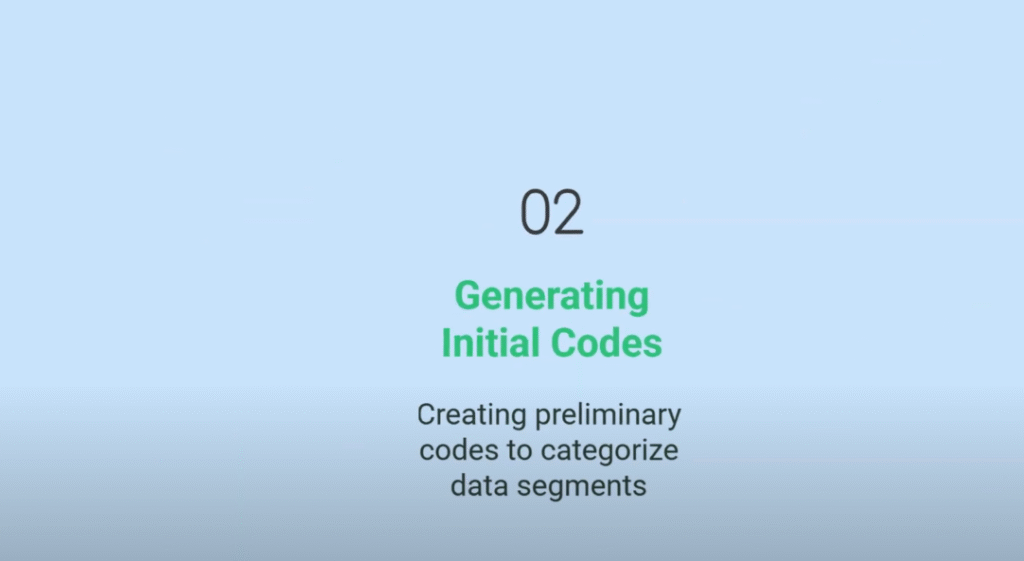
What Is a Code in Qualitative Research?
A code is a label or interpretive statement applied to any piece of data that is meaningful to your research questions. Codes can be short (one or two words) or long, descriptive sentences — there’s no rule on length. What matters is that each code accurately captures what that section of data is about.

In this study, one of my early codes was “Inadequate facilities” — a short, straightforward label. Later, I created a much longer code: “Not receiving a timely response from support staff to diagnose learning challenges among students.” Both are valid. Don’t worry about length during initial coding. Focus on accuracy.
For a deeper look at how I approach qualitative coding across different software tools, see my guide on qualitative coding of interviews with NVivo.
The Color-Coding Strategy (Why It Works)
Here’s a technique I use with almost every client that saves hours of confusion later: color-code your codes by research question before you start coding in NVivo.
Here’s how it works:
- Open your transcript in Microsoft Word.
- Identify each interview question in the transcript.
- Highlight each question in a distinct color — Question 1 in red, Question 2 in green, Question 3 in blue, Question 4 in dark blue/brown, Question 5 in purple.
- Apply the same color scheme to all transcripts.
Now, when you create codes in NVivo, assign the same color to the code as the question it came from. This means you always know which research question drove which code — a system that becomes essential when you’re grouping codes into themes.
How to Create and Name Your Codes
Here’s the step-by-step process for creating codes in NVivo 15:
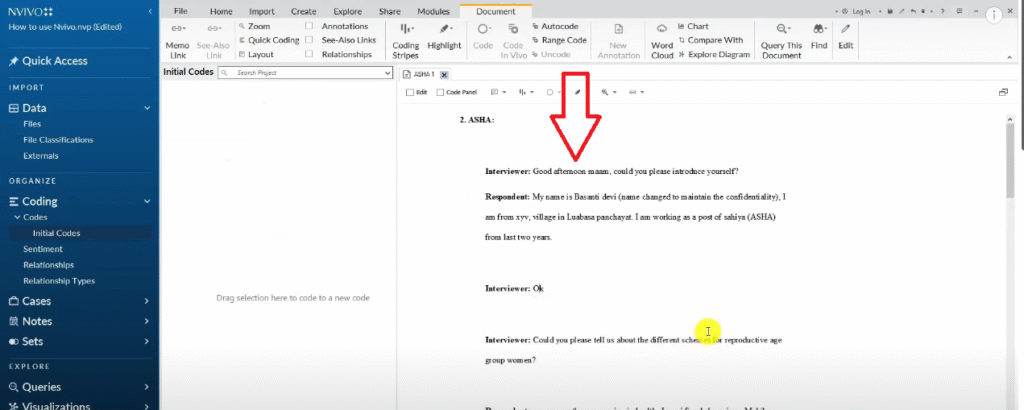
- Open your transcript inside NVivo.
- Read the response to a question carefully.
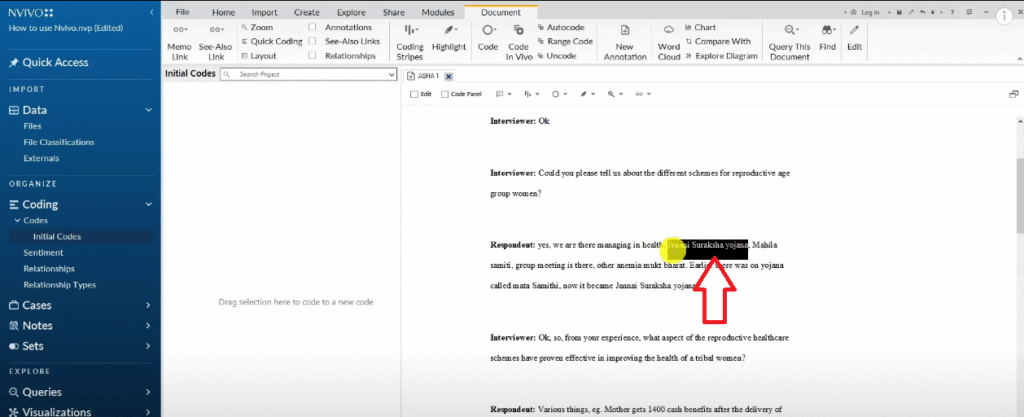
- Highlight the relevant text passage.
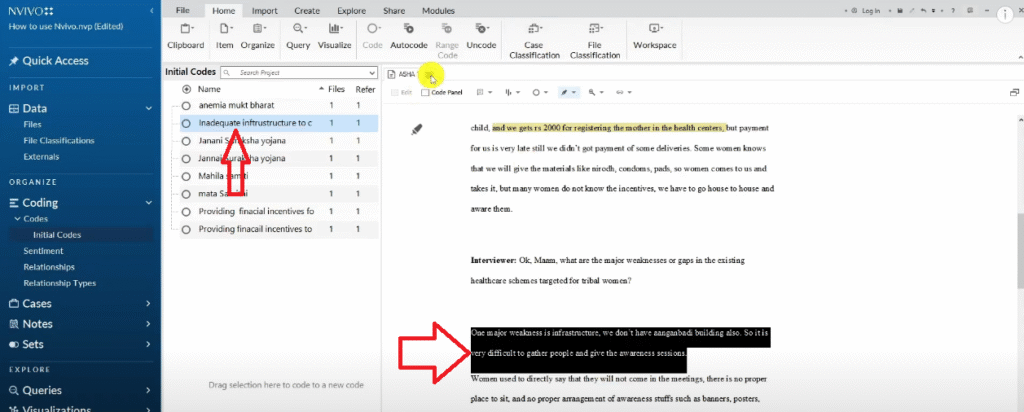
- Drag and drop the highlighted text into the blank coding area (right panel). A new code will be created automatically.
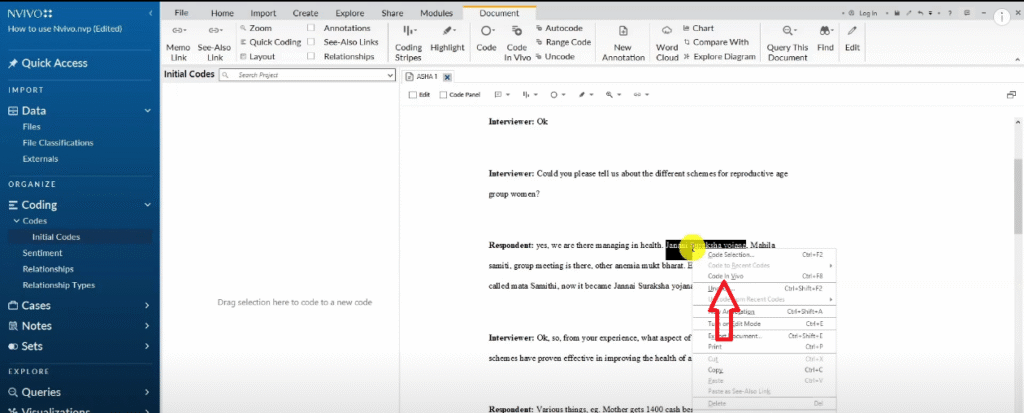
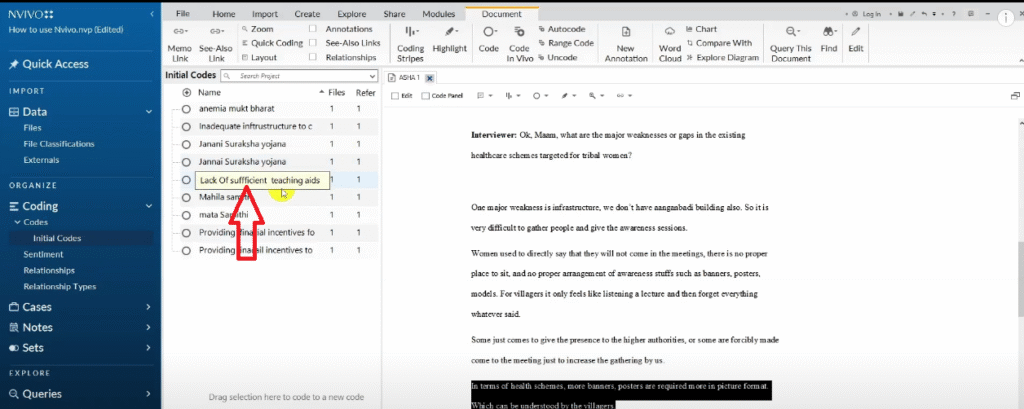
- Name the code. In this example, I highlighted a response about broken toilets, collapsed ventilation, and old classroom infrastructure — and named it “Inadequate facilities.”
- Right-click the new code and assign it the matching color (red, if it came from Question 1).

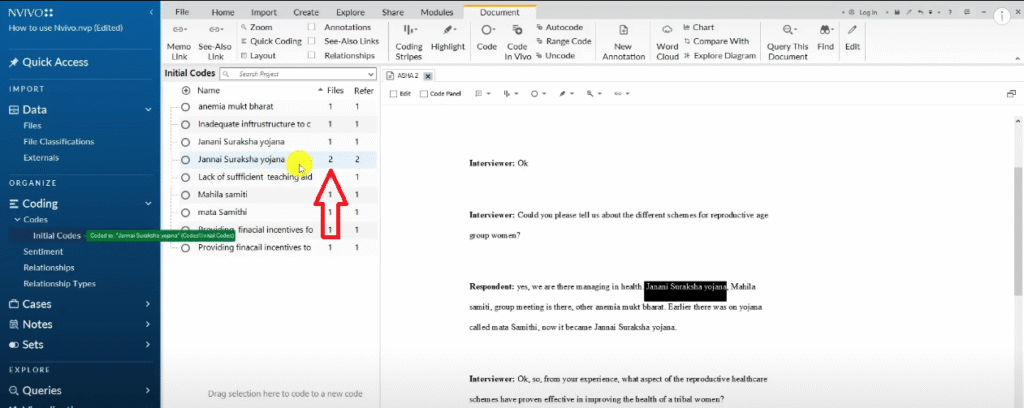
When you encounter a new response that supports an existing code — for example, a second participant also describing broken air conditioning — drag that text into the existing code, don’t create a new one. The References count on the code will increase, showing how many data points support it. That’s how you build evidential weight.
Repeat this process until you’ve worked through all responses across all transcripts. At the end of this stage, you should have a folder of initial codes, each color-coded, each with one or more references.
Step 3 — Develop Preliminary Themes in NVivo 15
Now comes the conceptual work. Using the Braun and Clarke framework, you move from codes to themes by looking for patterns of shared meaning across your codes.
Here’s the exact process I follow:
- Create a new folder in NVivo’s code panel. Name it “Preliminary Themes.”
- Select all your initial codes (Ctrl + A), copy them, and paste them into the Preliminary Themes folder.
- Now look at your color-coded codes. All red codes came from Question 1 — what pattern do they share? In this study, the red codes (inadequate facilities, insufficient classroom conditions, broken equipment) all pointed to one central issue: the physical environment of teaching.
- Create a new code inside the Preliminary Themes folder. Name it after the pattern — for example, “Challenges that lecturers experience when teaching students.”
- Add a clear description to each preliminary theme. A theme without a description is just a label. The description explains what the theme represents and why the codes belong together.
- Drag and drop all the codes that share that meaning into the theme folder.
- Right-click the theme and select “Aggregate coding from children” — this pulls all references from sub-codes up into the parent theme, so you can see the full evidential picture.
For our community college study, I developed five preliminary themes using this method: Challenges that lecturers experience when teaching students; Challenges experienced by students; Current teaching strategies lecturers use; Challenges lecturers face while teaching; and Effective ways of teaching students.
If you’re using a different QDA tool and want to compare workflows, my guide on inductive thematic analysis using NVivo covers the inductive coding approach in parallel.
Step 4 — Revise and Refine Your Themes
Preliminary themes are a starting point, not a final answer. Step 4 is where you interrogate them.
- Create a new folder called “Final Themes.”
- Copy all your preliminary themes and paste them into this new folder.
- Ask: Are any themes too similar to each other? Should they be merged? In my study, I had two themes that both dealt with challenges lecturers faced — I merged them into one cleaner theme.
- Are any theme names too wordy or vague? Rename them. I renamed “Teaching strategies that lecturers currently used to teach students” to simply “Current teaching strategies” — the description does the explanatory work, the name just needs to be clean and scannable.
- Check that every theme has a precise, one-sentence description. Example: “This theme describes effective ways that the interviewed lecturers think would be ideal to teach students in their current school setup.”

If you’re unsure whether your themes are well-defined, Scribbr’s guide to thematic analysis has a useful checklist for evaluating theme quality.
At the end of this step, my community college study had four clean final themes:
- Theme 1: Challenges that lecturers experience when teaching students
- Theme 2: Challenges experienced by students
- Theme 3: Current teaching strategies
- Theme 4: Effective ways of teaching students
How to Export Your Codebook from NVivo 15
Once your final themes are ready, export your codebook so you have a permanent record of your analytical decisions.
- Click Share in the top menu.
- Select Export, then Export Codebook.
- In the export options, choose Final Themes only.
- Check the box for Include files and references.
- Click OK.
NVivo will generate an Excel-format codebook showing each theme, its description, the number of files, and the number of coded references. This is the document you’ll refer back to when writing your findings chapter.
Speaking of findings — writing up your thematic analysis results is a separate skill. I cover that in full in my follow-up guide on how to report thematic analysis findings in NVivo 15, where I show you how to move from this NVivo file into a structured findings report with supporting quotes and visuals.
Frequently Asked Questions
Can I use the NVivo 15 AI Assistant for thematic analysis?
I don’t recommend it as your primary coding method. AI-generated codes lack interpretive depth and raise ethical concerns about researcher positionality. Use manual coding — it’s more defensible and produces better-quality themes.
How many codes should I have before developing themes?
There’s no fixed number, but a typical study with 5–10 interviews might produce 30–80 initial codes. What matters is that your codes are meaningful and grounded in the data, not that you hit a specific count.
Can my codes be long sentences?
Yes. Some of my codes in this tutorial were full sentences — for example, “Not receiving a timely response from support staff to diagnose learning challenges among students.” A longer, descriptive code is better than a short, vague one during the initial coding stage. You can always shorten them when you revise.
What’s the difference between a code and a theme?
A code is a label for a single piece of data. A theme is a pattern of shared meaning across multiple codes. You build themes by grouping codes that point to the same underlying idea.
Do I have to use the Braun and Clarke framework?
No — there are several frameworks for thematic analysis. But Braun and Clarke’s six-step process is the most commonly cited in academic research and the one most supervisors and examiners recognize. It’s a safe, well-documented choice for most PhD studies.
Key Takeaways
- Thematic analysis in NVivo 15 follows the same logical process as manual thematic analysis — the software just makes coding faster and your data easier to manage.
- Import transcripts via the File menu or by drag and drop.
- Color-code your questions before you start coding — it will save you hours of confusion when you develop themes.
- Create codes by highlighting text and dragging it to the coding panel. Don’t worry about code length at this stage.
- Develop preliminary themes by grouping codes that share a pattern of meaning, then refine them into final themes.
- Export your codebook before you start writing your findings — it’s your audit trail.
Need Help With Your Qualitative Analysis?
If you’ve worked through this tutorial and still feel stuck — or if you’re under deadline pressure and need hands-on support — I offer one-on-one consulting for PhD students and researchers. I’ve helped over 200 students go from raw transcripts to complete, defensible findings chapters.
Get help with your qualitative data analysis here — and let’s get your data working for you.

Pingback: 14 NVivo Shortcuts to Save You Hours of Work [2025] -
Pingback: Qualitative Analysis of Interviews in NVivo: 6-Step Guide -
Pingback: 9 Best Qualitative Data Analysis Software Tools [Compared] -
Pingback: How to Conduct a Systematic Literature Review Using NVivo [Step-by-Step] -
Pingback: Thematic Analysis in Microsoft Word and Excel [Free Guide] -
Pingback: NVivo Project Map: How to Visualize Thematic Analysis Findings -
Pingback: Inductive Thematic Analysis in NVivo: Saldana's 4-Step Method -
Pingback: Inductive Thematic Analysis in MAXQDA: Saldaña's 4-Step Method -
Pingback: NVivo 15 AI Coding: Does It Actually Produce Quality Results? -
Pingback: How to Report Thematic Analysis Findings in NVivo 15 -